Licensed Low-Voltage Contractor · North Shore to Tottenville · Houses, Townhouses & Two-Families
Soundbar Installation in Staten Island
Living Rooms · Hi-Ranch Dens · Finished Basements · Fireplace Walls · Townhouse Party Walls
On Staten Island the soundbar rarely goes into one tidy apartment wall. It goes into a house: over a stone-faced fireplace, onto the cinder block of a hi-ranch den, beside the paneling of a finished basement, or against the wall you share with the townhouse next door. We pick the bracket and anchors for that wall, route the wires so nothing hangs, set the bar up on the TV's eARC or ARC port so one remote runs it, and place the subwoofer for the room it is actually in. The bridge toll is our cost, not a line on your bill, and appointments run in 2-hour arrival windows from 8 AM to 8 PM, seven days a week.
Reviewed and updated October 17, 2026 · Written by Anwar Timothy, NYS licence #12000287431
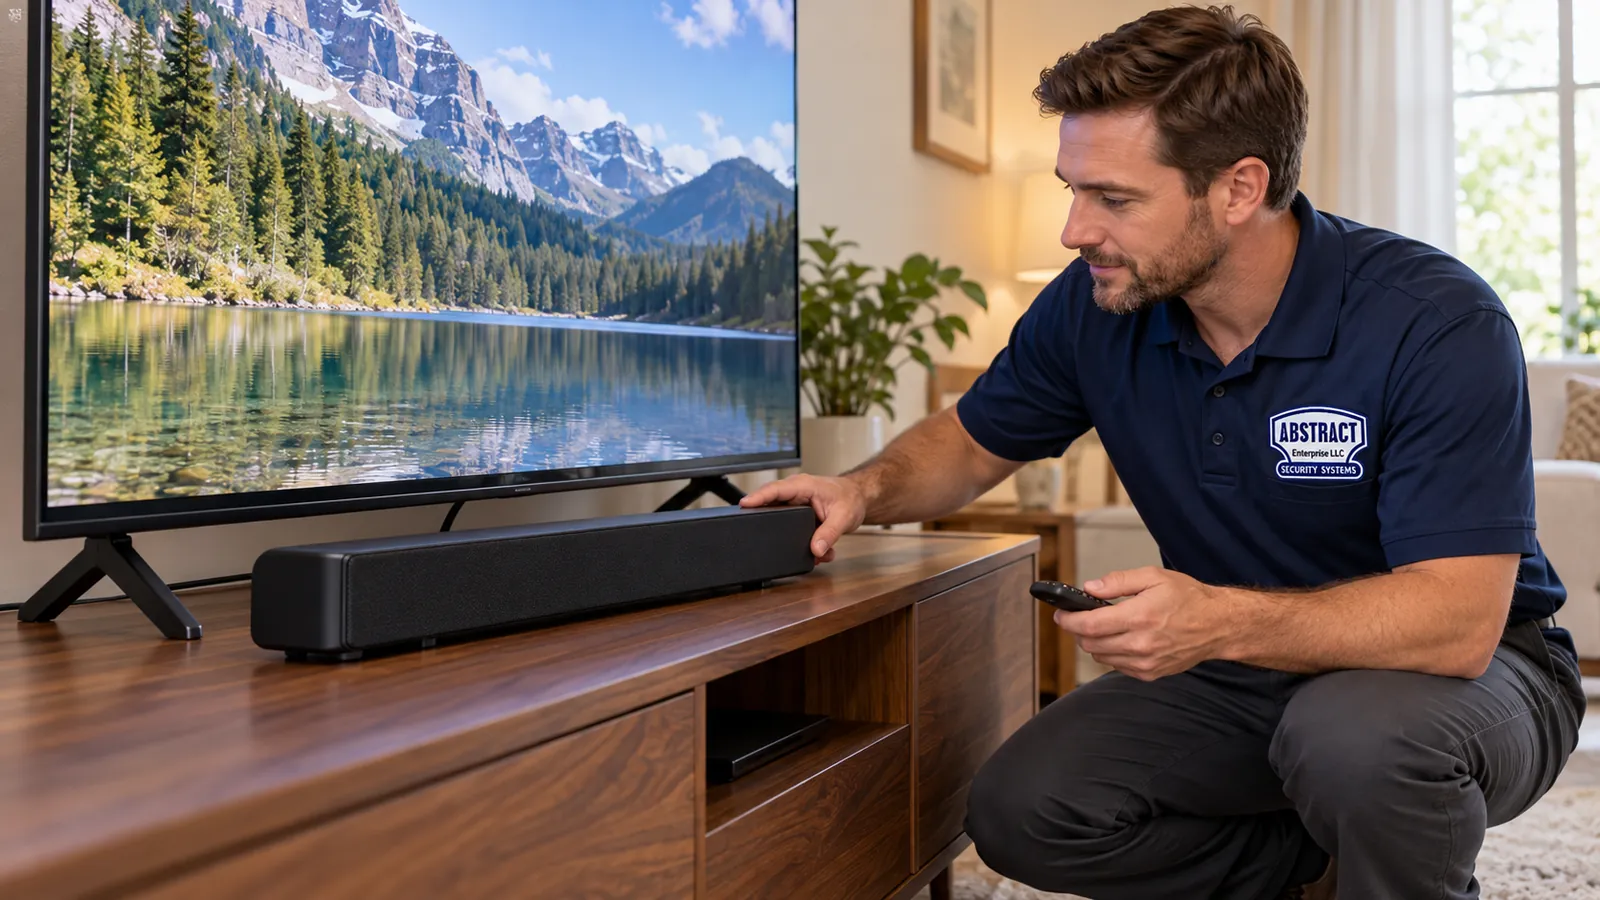
No wall mount needed here: the bar goes on the console in front of the TV's feet and is lined up so it doesn't block the screen or the IR sensor.
Staten Island Soundbar Quote
Which room, which wall, which part of the island? We phone back with a price that working day
✅
Request Sent!
We'll call you back the same business day.
25+
Years Experience
✓
Same-Day Estimates
100%
Licensed & Insured
4.7★
201 Google Reviews
Got a soundbar still in the box? Ring (347) 934-8335 or use the one-minute form. Tell us which room it is for and what the wall is made of, and you get a written price built from the published lines further down this page.
No toll, travel or mileage line on a Staten Island invoice
$129 to hang the bar beneath your screen; $79 if it just sits on the cabinet
Licensed under NYS #12000287431, booked in two-hour slots from morning to 8 in the evening, weekends included
Why Staten Island Homes Need Soundbar Installation
Staten Island is the borough where a soundbar question starts with "which room?" Across the water in Manhattan or Brownstone Brooklyn, the television usually lives on one wall of one living room, and the hard part is the building around it. Here the hard part is the house itself. A typical Staten Island family has a TV in the living room, another in a den or finished basement, often one in the main bedroom, and sometimes a fourth over a bar or in a garage gym. Each of those rooms was built at a different time, out of different materials, and each one asks something different of a soundbar.
The numbers explain why. More than a third of the borough's housing units are detached single-family houses and roughly a quarter are attached single-family homes, with two-family houses making up another fifth; only a small share of homes sit in big apartment buildings. The median Staten Island home was built in 1973, and the 1970s and the 1980s each account for about one in seven of today's units. That is the era of the hi-ranch and the attached townhouse, the decades after the Verrazzano-Narrows Bridge opened in 1964 and the island filled in with new streets. Older stock is here too: about one home in six dates from 1939 or earlier, and those frame houses bring plaster, odd framing and the occasional surprise behind the wall.
So a soundbar job on Staten Island is rarely the same twice in one house. The living-room wall is often drywall over wood studs, which is the easy case. The fireplace wall beside it may be brick, real fieldstone or a thin stone veneer glued over board, and those three need three different answers. Downstairs, a hi-ranch den commonly has a poured or block foundation wall on one side and framing on the others. The finished basement may still have wood paneling from a 1970s renovation with furring strips and foam behind it. And if you live in one of the attached townhouse communities, the wall you most want to use may be the one you share with your neighbour.
People on Staten Island feel the gap between a quick mount and a proper one. On Reddit's r/statenisland, a new resident asking about renovation help said they were having difficulty finding someone who could build a proper TV wall with lighting, shelving and wood slats; another thread about moving to the island had a handyman offering TV mounting and furniture assembly as an after-the-move add-on. Both describe the same reality: plenty of people will screw a bracket to a wall, but fewer will check what the wall is, think about where the subwoofer should sit, and set the bar up so the TV remote controls it.
Weather is the other Staten Island layer. Hurricane Sandy killed 24 people on the island and destroyed more than 2,100 homes, and in the years after, the city's Build It Back program raised many substantially damaged houses to meet flood elevation standards while the state bought out hundreds of homes in East Shore neighbourhoods. Storms still knock out power here: a September 2026 nor'easter left 1,663 Con Edison customers on Staten Island without electricity at its peak. For a soundbar, that history means thinking about what sits on a basement floor, where the subwoofer goes in a raised house, and how the system is plugged in.
None of this needs a building manager or a board. That is the good news about Staten Island compared with the rest of the city: most homeowners decide for themselves what goes on their walls. The exceptions are the townhouse and condo communities, where an association usually handles exterior maintenance and may have views on anything mounted outside, and two-family houses where the owner and the tenant share a structure. We ask about both when you book.
Staten Island facts that shape a soundbar job
178,991 housing units: 34.9% detached single-family, 25.6% attached single-family and 22.2% in two-unit buildings; only 7.2% are in buildings of 50 or more units (Point2Homes, from U.S. Census Bureau data).
1973: the median year Staten Island homes were built. Units from the 1970s and from the 1980s each make up 15.5% of the stock, and 17.5% date from 1939 or earlier (Point2Homes).
67.7%: owner-occupied housing rate in Richmond County for 2020–2024, with a median owner-occupied home value of $675,500 (U.S. Census Bureau QuickFacts). Owners can choose in-wall work that renters elsewhere in the city usually can't.
November 21, 1964: the day the Verrazzano-Narrows Bridge's upper deck opened (Wikipedia). EBSCO's history summary notes the island's population almost immediately began growing by about 1,700 people a month afterwards — the boom behind much of today's hi-ranch and townhouse stock.
24 deaths and 2,100-plus homes destroyed: Hurricane Sandy's toll on Staten Island; the state later planned $200 million to buy out about 500 homes, mostly in three Staten Island neighbourhoods (PBS NewsHour, 2015).
1,663 customers: Staten Island Con Edison outages reported during a September 2026 nor'easter, 111 still dark the next morning (Staten Island Advance / SILive).
Read together, those figures describe a borough of owner-occupied houses from the 1960s to the 1980s, mixed with older frame homes and post-Sandy rebuilds, with several TV rooms per house and real weather to plan for. That is the job this page is written around.
Most Staten Islanders who book a soundbar are also hanging or moving the TV above it, and a fair number add a second room on the same visit. The AESS TV installation team on Staten Island works from the same published price list, and when a bar alone won't fill the space — a big basement, a bar area, a deck — our Staten Island AV and sound installers plan the bigger system.
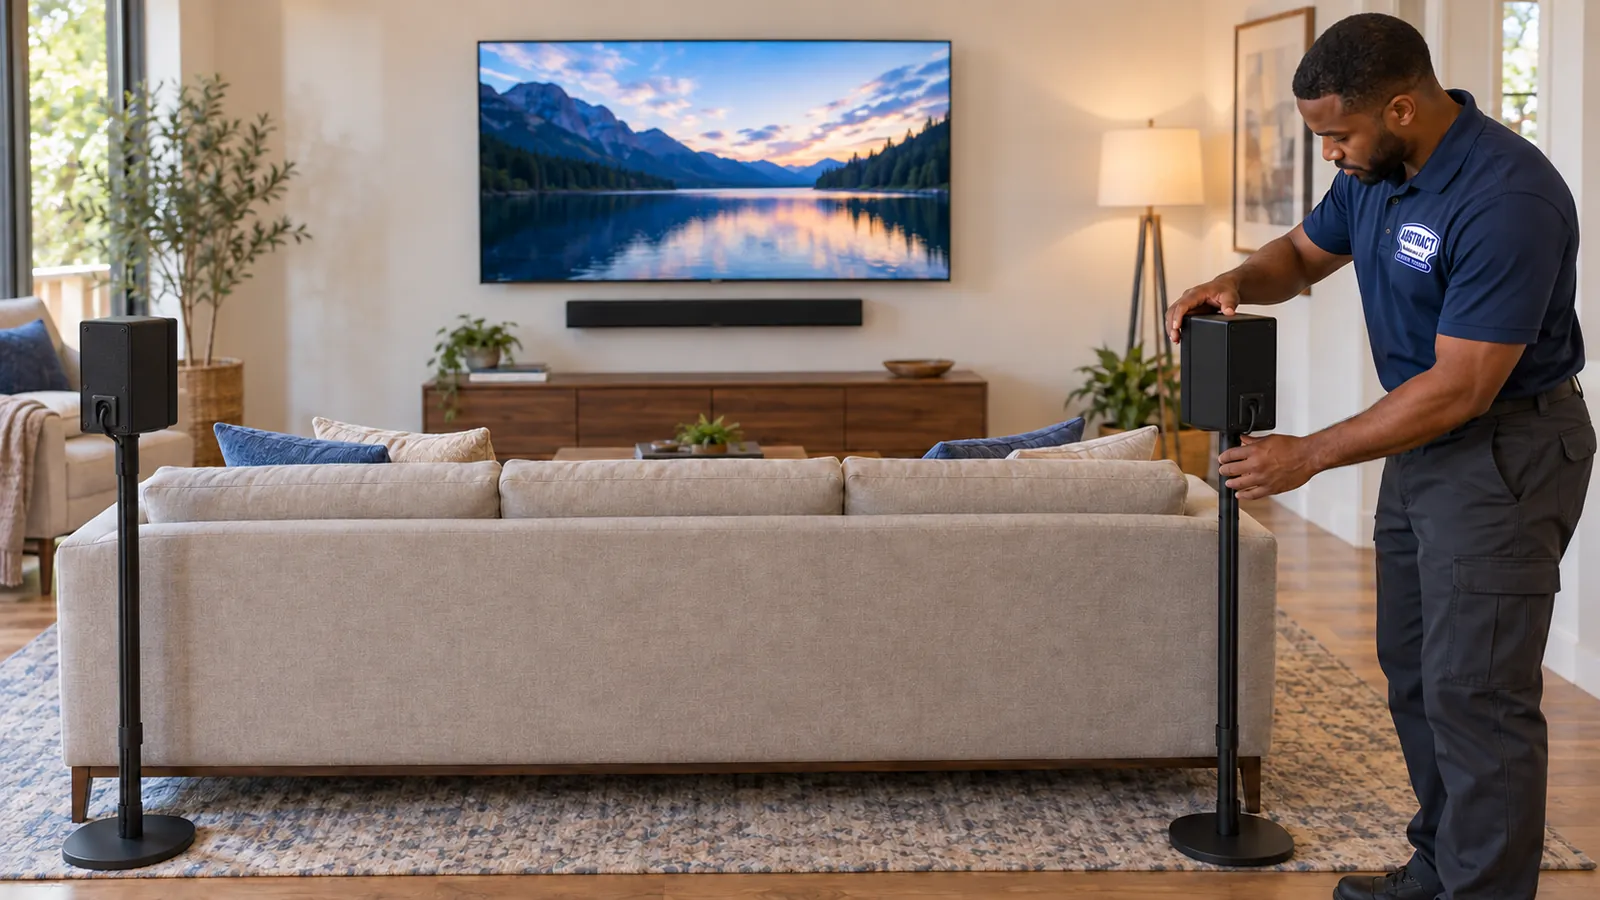
A technician adjusts one of two rear speakers on floor stands behind the sofa, with the wall-mounted TV and soundbar across the room.
Room by Room
Where Soundbars Go in a Staten Island House
Before we talk brackets, it helps to name the rooms. These six cover most soundbar requests on the island, and each one changes the method, the price line and what we check first.
The Fireplace Living Room
The focal wall in many colonials and raised ranches is a chimney breast. The TV goes over the mantel; the bar goes on the stone or brick below it, on the mantel shelf, or on a bracket attached to the TV mount. We confirm whether the face is solid masonry or glued-on veneer before choosing.
The Hi-Ranch Den
Main living space upstairs, family room at grade with the garage beside it. The den's back wall is often foundation block, and the cable line and router frequently come in here, which makes it the most wired room in the house and the easiest place to get a clean HDMI connection.
The Finished Basement
Sectional, a big TV, maybe a bar and a games console. Walls are paneling, drywall on furring strips or bare block, the ceiling is often a suspended tile grid, and the floor is concrete. The bass behaves very differently here than upstairs, and so does Wi-Fi.
The Townhouse Living Room
Narrower rooms in attached homes, one wall shared with the neighbour, the TV often on the long wall opposite the sofa. Interior walls are usually wood-framed drywall, so mounting is straightforward; placement and bass are where the thinking goes.
The Main Bedroom
Smaller compact bars, a TV over a dresser, and a strong preference for night mode and low bass. Here the right answer is often a bar on the dresser with the TV mounted above it, or a slim bar on a TV-attached bracket.
The Raised or Rebuilt Shore House
East and South Shore homes rebuilt or elevated after Sandy put living space a storey above grade over open or enclosed foundations. Walls are newer drywall, often with spray-foam or batt insulation and fire blocking, which affects how in-wall cable runs are made.
Most houses combine two or three of these. When you book, tell us every room you are thinking about, even if you only want one done now: the cable route, the network connection and the remote setup are easier to plan once for the whole house than to retrofit room by room.
What We Install
Soundbar Installation Services in Staten Island
The Staten Island price list is made of the line items below. Each has a fixed published figure, and no visit is closed out until the bar sits level under the screen, the wiring is hidden or neatly dressed, your TV remote controls the volume, and we have listened from the chair you really use.
Bar Under a Wall-Mounted TV
The everyday request. A bracket goes on the wall a few inches below the screen, centred and level, fixed with anchors matched to what we find: lag screws into studs, sleeve anchors in brick, anchors made for hollow block in a den wall, or toggles where a stud isn't where it needs to be.
Fireplace-Wall Soundbars
Bars under an over-mantel TV, on solid brick, real stone or veneer. Where the face won't hold a bracket on its own, we fix through to the structure behind or move the bar to the TV mount or the mantel shelf. The stone add is posted, not invented on the day.
Basement and Den Systems
Soundbar, wireless subwoofer and rear speakers in a lower-level room, with the sub placed for a concrete floor and the bar connected to the TV the console or cable box also feeds. Block, paneling and furred-out walls are all routine.
Console Placement, No Holes
Bar on the media unit, connected and set up so it doesn't block the TV's infrared sensor or the bottom of the picture. Good for TVs on stands, for anyone not ready to drill, and for second rooms.
TV-Attached Soundbar Brackets
A bracket that clamps the bar to the TV or its mount, so it moves with a full-motion arm and adds no holes to a stone chimney breast or a freshly painted wall.
In-Wall Power and HDMI
A code-compliant in-wall power and cable kit that carries the bar's and TV's power and HDMI inside a framed wall to the existing outlet below. Owner-occupied houses with drywall on studs are the ideal case.
Cord Covers and Cabinet Runs
A paintable cord cover where the wall can't be opened (block, stone, paneling over block), and cable runs of up to 25 feet when the cable box or console lives in a cabinet across the room.
HDMI eARC, CEC and App Setup
Right socket, right menus: the eARC or ARC input found and used, CEC enabled for single-remote volume, voices lined up with lips, the latest firmware loaded and the app logged in to your home network.
TV and Bar, Several Rooms, One Visit
Living room plus basement, or a new TV upstairs and the old one moved down. We sequence the rooms so wall checks, cable routes and remotes are sorted once, and quote each room on its own lines.
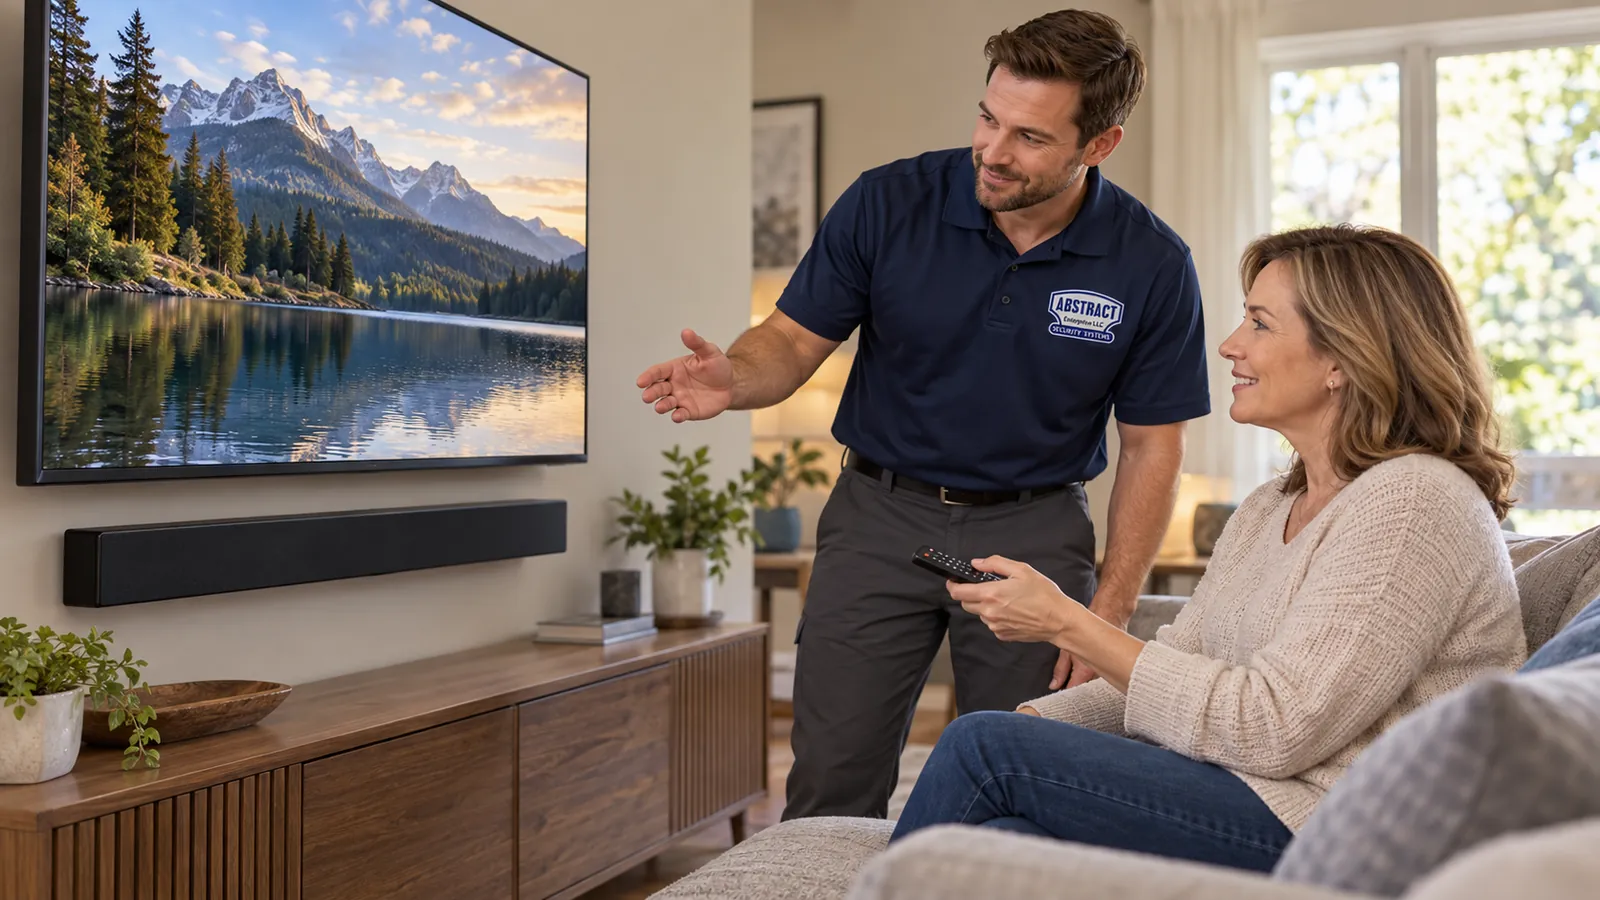
Before we leave: the person who will use the system holds the remote and runs the inputs and volume while the technician explains each button.
Repair Capture
Soundbar Acting Up on Staten Island?
If the bar has gone silent after a TV update or a power cut, the TV remote no longer controls its volume, voices have drifted out of step with mouths, the subwoofer has lost its pairing, or a bracket has started to tilt away from the wall, that is a service call rather than a new install. We book these into the next open 2-hour window when one is free, and most connection and setup faults are put right in one to two hours once a technician is in the room. A setup-only visit on Staten Island is billed at $225 for the first hour and then in 30-minute blocks. Call (347) 934-8335 and say it's a soundbar problem; our TV and soundbar service policies explain how those visits work.
Building Specialists
Soundbar Installation for Staten Island's Architecture
Staten Island's housing reads like a timeline of the last hundred years, and the wall behind your TV depends on which chapter your house came from. These are the building types we work in most, from St. George to Tottenville, and what each one means for a soundbar.
Hi-Ranches and Raised Ranches
Brick Underground describes New Springville's housing as mostly attached, semi-detached and detached single- and two-family high ranches built in the 1960s and 1970s, and the type is common far beyond it. Upstairs walls are usually drywall on wood studs; the lower den often has foundation block on the back wall. The cable service tends to enter downstairs.
Attached Townhouse Communities
Developments such as Village Greens and Aspen Knolls in Arden Heights are organised around homeowner associations whose fees cover exterior maintenance, according to local realtor guides. Inside, framing is typically wood with drywall; the party wall to the next unit is the one to think twice about.
Detached Colonials and Mid-Island Houses
Larger living rooms, open family rooms off the kitchen and, very often, a brick or stone fireplace that becomes the TV wall. The easy drywall walls and the hard masonry wall sit side by side, which is why we ask for a photo of the exact spot.
Two-Family Houses
More than one in five Staten Island homes is in a two-unit building. Floors between units are wood-joisted, so a subwoofer upstairs is heard downstairs. Owners living over a tenant (or the other way round) usually want the bass set for that.
Older North Shore Frame Houses
The island's oldest neighbourhoods — around St. George, Tompkinsville, Stapleton and New Brighton — include freestanding houses from the 19th and early 20th centuries, among them the roughly 92 houses of the St. Paul's Avenue–Stapleton Heights Historic District, designated in 2004. Plaster on wood lath, irregular stud spacing and decorative mantels are normal.
Post-Sandy Elevated and Rebuilt Homes
Under Build It Back, substantially damaged homes were repaired and raised to meet flood elevation standards, and the program elevated or reconstructed more than 110 attached homes as well. These houses have newer drywall, modern insulation and sometimes a long cable path from the utility entry up to the living floor.
How each Staten Island wall gets fixed
Drywall over wood studs (no wall surcharge). Most interior walls in houses from the 1960s on. We locate the studs, confirm them with a small pilot hole, and screw the soundbar bracket into the framing. Soundbar brackets are light compared with TV mounts, but we never rely on plastic anchors in bare drywall for something people will knock with a vacuum or a toddler. Where the bar's keyhole spacing doesn't line up with a stud, a toggle rated for the load goes beside a stud fixing.
Concrete or cinder block (+$75). The den wall in many hi-ranches and the bare wall of an unfinished part of a basement. Block is hollow, so a fixing in the void spins or crumbles; anchors go into the solid webs, or we use anchors designed for hollow masonry. Poured concrete takes concrete screws or wedge anchors and a hammer drill, and we contain the dust.
Brick or natural stone (+$65). Chimney breasts and the occasional brick accent wall. Sleeve anchors go into the brick or stone itself, not the mortar joint. Before drilling we look at an outside corner or the hearth edge: real stone shows its depth, veneer shows a thin slice. Veneer is treated differently (see the questions below).
Plaster on lath (+$45). North Shore houses from before the Second World War. We drill slowly to keep the plaster keys intact, find the studs behind the lath and fix into them; where the framing is irregular, a small backer board spreads the load ($85 if it's needed).
Wood paneling over furring. A 1970s basement favourite. Paneling is thin and the furring strips behind it are narrow, so we find the strips or the framing, and if the paneling is fixed straight to block we treat it as a block wall. Paneling can't take a cord cover neatly, so we usually route the cable behind a cabinet or down to it.
Metal studs (+$30). Less common in houses but found in newer basement fit-outs and in shops and offices. Toggle-style anchors made for steel studs carry a soundbar bracket comfortably.
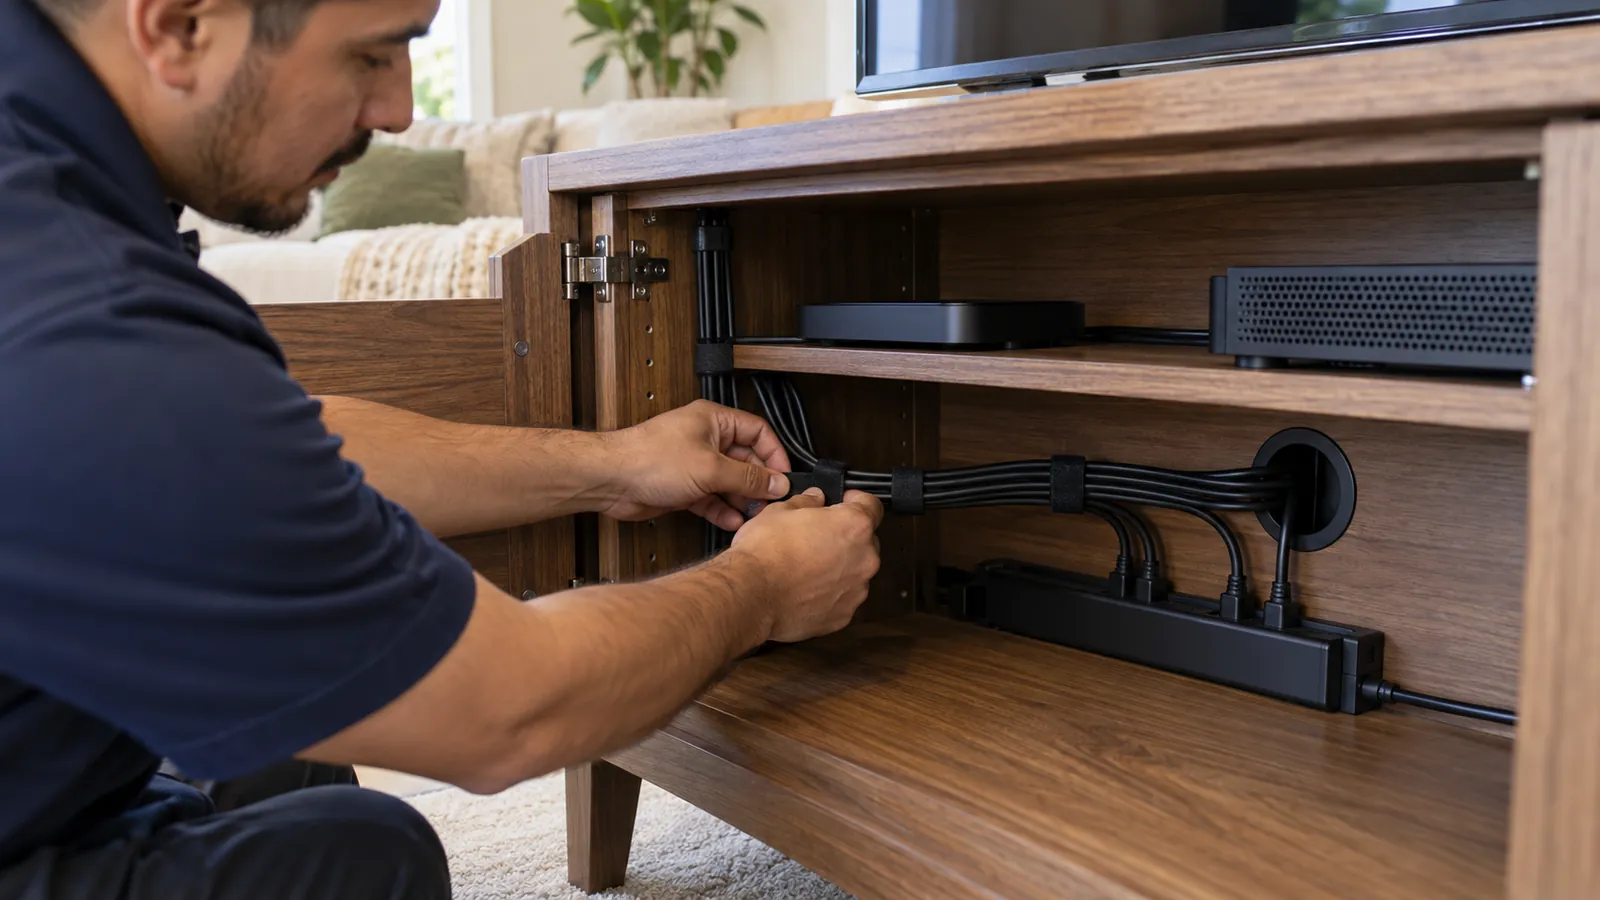
Inside a wooden media cabinet, a technician bundles black cables with hook-and-loop straps and routes them through a grommet to a power strip.
Commercial Soundbar Installation
Business Soundbar Installation in Staten Island
Most Staten Island businesses that call about a soundbar are street-level: a pizzeria with a TV over the counter, a pub with screens along the bar, a salon or dental waiting room, a gym, a small office conference table. A soundbar is often the right answer for one screen in one room. When there are several screens, or the sound has to reach a whole dining room, we will tell you so and price ceiling speakers instead. These are the corridors where those calls come from.
New Dorp Lane
A business improvement district approved in 2017 covering about 180 businesses and 146 properties along a mile-long stretch of New Dorp Lane from Hylan Boulevard (SILive). Restaurants, cafés and salons where a single TV with clear dialogue matters more than volume.
Forest Avenue, West Brighton
A strip long known for neighbourhood bars and saloons — the Staten Island Advance has run nostalgia pieces on them, and the Staten Island Chamber marked fifty years of one Forest Avenue bar-restaurant that opened in 1976. Several TVs, older brick and plaster walls, late hours.
Bay Street: St. George to Stapleton
The 20-block, 45-acre Bay Street Corridor rezoning area runs through St. George, Tompkinsville and Stapleton (Municipal Art Society). Older storefronts on one side, new mixed-use buildings on the other, and restaurants serving ferry and ballpark crowds.
Hylan Boulevard
About 14 miles from Rosebank along the East Shore to the South Shore and Tottenville (Wikipedia), lined with strip centres, restaurants, medical offices and gyms. Waiting-room and gym TVs are the usual soundbar jobs here.
Richmond Avenue and New Springville
The retail spine around the Staten Island Mall, the borough's only indoor mall, open since 1973. Chain stores, restaurants and professional offices, many in newer buildings with metal-stud interior walls.
Arden Heights: Arthur Kill Road and Arden Avenue
The main commercial corridors of Arden Heights, according to a local neighbourhood guide — small plazas with delis, salons and family restaurants serving the townhouse communities nearby.
For a business we work around your opening hours inside our 8 AM to 8 PM windows, issue the certificate of insurance your landlord or plaza manager asks for at no charge, keep the drilling dust off the counters, and leave the bar on settings your staff can't easily break. Multiple screens, a menu-board wall or a conference room get a written quote rather than a menu price.
Rules a business soundbar has to respect
Protruding objects (ADA). Under the 2010 ADA Standards, section 307.2, an object mounted on a wall with its leading edge between 27 and 80 inches above the floor may protrude no more than 4 inches into a circulation path. A soundbar on an extending arm at walking height in a narrow corridor or waiting room can break that rule; a low-profile bracket or a higher position fixes it.
The city's commercial music limits. The Department of Environmental Protection's Noise Code guide limits commercial music to 42 dB inside a nearby residence and 7 dB over ambient on the street between 10 PM and 7 AM, and treats pervasive bass separately. A bar or restaurant with apartments upstairs — common on Bay Street and Forest Avenue — should set the subwoofer accordingly.
Power cords stay out of the wall cavity. A flexible cord pushed through drywall isn't permitted by the electrical code, which is why our concealment uses a listed in-wall power kit fed from an existing outlet. A new outlet or circuit is an electrician's job; we don't do electrical work.
Landlord and plaza paperwork. Many plazas and landlords ask for a certificate of insurance before any trade drills. We issue it free and name whoever needs to be named.
Businesses that also need cameras, data cabling or Wi-Fi reworked often fold it into the same visit through our Staten Island low-voltage installation team.
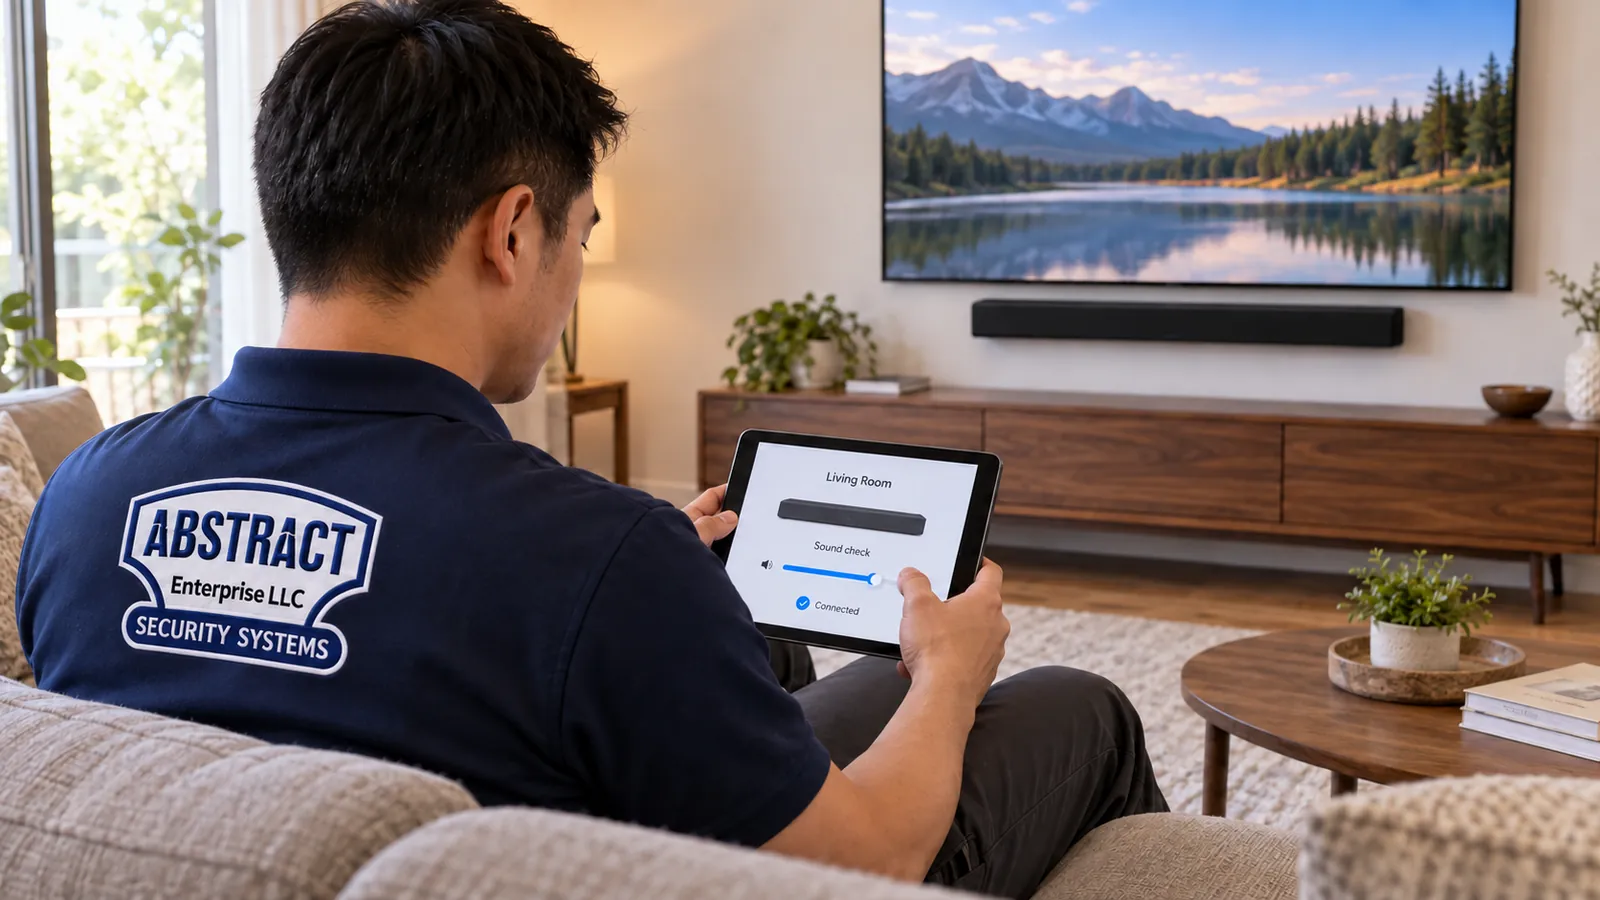
The check is done from the seat people actually use: tablet in hand, sound-check slider on screen, bar and TV on the wall ahead.
Your Questions Answered
Soundbar Installation in Staten Island: Questions Answered
These are the questions Staten Island homeowners and business owners ask before they book, grouped by the part of the house they are really about: shared walls, difficult wall surfaces, the basement, the everyday living room, and businesses. Price, scheduling and booking questions are collected in the FAQ further down.
Townhouses and shared walls
Should the soundbar go on the wall we share with the townhouse next door, or on the opposite wall?
If you have the choice, use a wall that isn't shared. A soundbar's dialogue and mid-range mostly stay in the room, but low bass travels into the structure, and a party wall between two attached homes carries it straight into your neighbour's living room. Mounting the bar and the TV on that wall also puts the bracket's fixings, and any vibration from the bar itself, into the same framing your neighbour's TV may be hanging from.
Often the layout leaves no choice: the shared wall is the long wall, the sofa faces it, and the window wall opposite is no good for a screen. In that case we mount the bar normally, keep the subwoofer off the party wall and away from the corner where two shared surfaces meet, and stand it on a firm pad rather than directly on a wooden floor. We then set the sub's level from your seat, not from the doorway, and turn on the bar's night or dialogue mode for late viewing. Bars with a built-in woofer and no separate sub are a sensible choice for townhouse living rooms where the neighbour's bedroom is on the other side of the wall.
Our townhouse association maintains the outside — can a cable run outdoors to a TV on the deck?
Not without the association's agreement, and usually not at all if there is an indoor route. In most attached-home communities the exterior walls, siding and roofs are maintained by the homeowners association, and its rules often treat anything fixed to the outside — a satellite dish, a light, a cable clipped along the siding — as something that needs approval. Drilling through siding without it can put you in breach of the rules and void the association's maintenance of that wall.
So we ask first. If the TV on the deck is a plan, check the rules with the management office; we can issue them a certificate of insurance free of charge. Where a deck TV is allowed, the cleanest arrangement is usually a weather-rated TV and speaker or bar fed wirelessly from inside, with power from an existing outdoor outlet that has GFCI protection and a weatherproof cover. Inside your unit, the soundbar and its wiring are your decision, and that is where we keep the work wherever we can.
Stone, block and paneling
Our fireplace is faced with stone veneer — can a soundbar bracket hold in it?
Not on its own. Manufactured or thin natural stone veneer is a slice of stone, often an inch or two thick, bonded with mortar to a backing board or a scratch coat. It looks solid, but the strength is in whatever is behind it. A sleeve anchor set only into the veneer can crack the piece or pull it away from its backing. The quickest way to tell is to look at an outside corner or the hearth edge: real stone shows its full depth, veneer shows a thin profile or a moulded corner piece.
On veneer we have three options. We can drill through the veneer into the framing or masonry behind it, using longer fixings and spacers so the bracket sits flat on the uneven face. We can move the bar off the stone altogether and hang it from the TV's mount on a TV-attached bracket ($84.99 for the Sanus bracket we supply), which adds no holes to the fireplace. Or, if the mantel is deep enough, the bar can sit on the shelf, angled slightly toward the seats. We show you the choice before any drilling, and the brick-or-stone add ($65) only applies if we actually anchor into masonry.
Wood paneling in the basement: what we find behind it
Usually one of three things: furring strips nailed to block or concrete, a stud wall with paneling straight onto the studs, or paneling glued directly to the masonry. Each takes a different fixing, so we find out before drilling by tapping, using a scanner, and if needed drilling a small hole in a spot the bracket will cover. Furring strips are often only one and a half inches wide and 16 or 24 inches apart, so the bar's bracket may need a short piece of wood fixed across two strips to give it something to grab.
Paneling also changes the cable plan. You can't fish a cable neatly behind paneling glued to block, and a cord cover on grooved paneling never sits flat. So in paneled basements we generally run the HDMI and power down behind the media cabinet, or mount the cabinet's top edge high enough to hide the drop. If you are planning to replace the paneling anyway, tell us: it is far easier to leave a cable path before new drywall goes up than to cut one afterwards.
Basements, flooding and the lower floor
Our basement took water in Sandy — should any part of the system sit on the floor?
As little as possible. A soundbar on a bracket or a cabinet is already well clear of the floor, but the subwoofer, the power strip and sometimes a cable box are usually down at floor level, and they are the expensive parts to replace after even an inch of water. In basements that have flooded before, we lift the subwoofer onto a solid stand or a low shelf (it still sounds right a few inches up), mount the surge-protected power strip on the back of the cabinet or the wall rather than leaving it on the carpet, and keep the wireless rear speakers on stands or wall brackets.
We also think about where cables cross. If the cable or fibre service enters the house low on a foundation wall, we route the HDMI and power up and away from it instead of along the floor. None of this makes a basement flood-proof — that is a job for drainage and the house's elevation, not for a low-voltage contractor — but it means a little water costs you a carpet, not a sound system.
Finishing a basement? Plan the TV wall before the drywall
Plan the TV wall before the walls close. The cheapest soundbar installation is the one where the cable path already exists. Ask your contractor (or us) to leave a recessed low-voltage box behind where the TV will hang and a second one low on the wall behind the cabinet, joined by a smooth conduit or a clear stud bay so HDMI and power can be pulled later. A network cable from the router to that cabinet is worth adding at the same time.
Two details that save money later: put a horizontal block of solid wood between the studs at the height the soundbar bracket will sit, so the bracket can go anywhere along that line, and note where any electrical outlet is being placed so the TV and the bar both reach it. We don't add outlets — that stays with your electrician — but if the outlet is in the right place at framing, our in-wall concealment later costs $169 rather than a fight with insulation and fire blocking.
Will the up-firing Atmos speakers work under a basement drop ceiling?
Not well, in most cases. Atmos soundbars with up-firing drivers bounce sound off the ceiling so it seems to come from above. Polk Audio's setup guide says those speakers work best with ceilings between 7.5 and 12 feet that are flat and made of rigid, acoustically reflective material, and it specifically warns against acoustic ceiling tiles. A suspended basement ceiling of fibre tiles is designed to absorb sound, which is exactly what you don't want for a reflection.
The bar will still play and the height channels will still be there, but the overhead effect will be faint. If overhead sound matters to you in a basement theatre, the honest options are: accept the bar as a very good front stage and put the money into a better subwoofer and rears; replace a few tiles above the seating with hard panels; or add small in-ceiling speakers, which our AV team can wire through the grid. We can test the bar's height effect in your room before you decide.
Projectors and soundbars in a basement theatre
A soundbar pairs well with a projector in a basement with enough clear wall for a big screen. The key is how the audio reaches the bar. Most projectors either have no HDMI ARC or put it on an awkward port, so the cleanest arrangement is to send the sources — streamer, cable box, console — through a soundbar or receiver with HDMI inputs and video passthrough, and run one long HDMI cable from there up to the projector. Where the bar has no inputs, a small HDMI audio extractor or an eARC-capable switch does the same job.
Placement is the other decision. With a projector the screen is often bigger and higher than a TV would be, so the bar either goes on the wall just below the screen's bottom edge or on a low shelf centred under it. Long HDMI runs to a ceiling-mounted projector need a cable rated for the distance; we price the run on the cable-run line ($99 for up to 25 feet) and quote longer routes in writing.
The kids game in the basement — will running the console through the soundbar add lag?
It can, depending on how it is connected. Some soundbars with HDMI inputs pass video through without any noticeable delay; others add processing or don't pass through the high refresh rates and variable refresh that newer consoles use. The safest arrangement for a gaming setup is to plug the console straight into the TV, keep the TV in its game mode, and let the TV send the audio to the bar over eARC or ARC. That way the picture never goes through the bar.
When we set it up we check that the TV's game mode is switched on for that input, that the audio stays in step with the picture once game mode is active, and that the console's audio output is set to a format the bar and the TV both understand. If you hear a delay between button press and sound, we can usually fix it in the TV's audio sync setting in a couple of minutes.
The everyday living room
Our new soundbar is taller than the gap under the TV on its stand — what are the options?
It happens a lot with newer, taller bars and TVs whose feet sit near the edges. The bar ends up covering the bottom of the picture, the on-screen captions, or the TV's infrared sensor so the remote stops working. There are four fixes, roughly from cheapest to tidiest: swap the TV's feet to the centre-pedestal position if your model offers one, which lifts the screen; put the bar on a lower shelf of the unit; buy a small TV riser; or mount the TV on the wall with the bar beneath it.
If you would rather keep the TV on its stand, we place and connect the bar for $79 and make sure the remote's line of sight is clear. Many bars also have an IR repeater function or can be controlled over HDMI-CEC, so the remote problem can disappear even if the bar does cover the sensor. If you decide to go to the wall, a TV mount on Staten Island starts at $209.99 for a 32-to-55-inch screen on wood-stud drywall, with the soundbar mounted below it for $129.
Does a soundbar need the internet at all to play the TV's sound?
For sound from the TV, the bar needs no network at all: the audio arrives over HDMI. The network matters for streaming music directly to the bar, for voice assistants, for multi-room grouping and for firmware updates. Those need very little bandwidth, so ordinary Wi-Fi is enough — as long as the signal actually reaches the living room. In many Staten Island houses the router sits where the cable comes in, low in a den or basement, with a floor and sometimes a block wall between it and the upstairs TV.
During setup we check the bar's signal strength in its app. If it is weak, the options are a wired network cable from the router to the TV cabinet (often the most reliable choice in a hi-ranch, where the den is directly below the living room), a mesh Wi-Fi point upstairs, or a powerline adapter. If you also want the TV and streamer wired, our network installation crew on Staten Island can run the line properly.
Every time someone switches the TV input, the soundbar goes silent — can that be fixed for good?
Usually, yes. The pattern is common in family rooms where a console, a cable box and a streamer all share one TV. When the TV changes input, it renegotiates HDMI-CEC with every connected device, and some soundbars drop the audio link or switch themselves to a different source. Add a games console that wakes the TV on its own, and the bar can end up on the wrong input with nobody sure why.
The fix is in the settings rather than the hardware. We make sure only the devices that need CEC control have it switched on, set the bar to follow the TV's audio rather than its own inputs, connect sources to the TV instead of the bar where that is more stable, and update the firmware on the bar and the TV, since CEC behaviour often improves in updates. Where a particular brand pairing still misbehaves, a programmed universal remote ($99) that sends each device its own commands takes CEC out of the picture altogether.
We have an old surround receiver and five speakers in the basement — keep them or replace them with a soundbar?
It depends on what the receiver can do and what you want to give up. Many receivers from the 2000s and early 2010s have no HDMI ARC, can't decode the audio formats newer streaming apps send, and need their own remote. A soundbar with a wireless sub and rears is simpler to live with, takes up less space, and the TV remote runs it. A receiver with good passive speakers, on the other hand, often sounds bigger in a large basement than a bar can, and the speakers themselves rarely wear out.
There is a middle path we set up often: keep the speakers and replace only the receiver with a current model that has eARC, or connect the old receiver to the TV's optical output so it plays TV sound without HDMI. We test what you already have before you buy anything. If the decision is a soundbar, the old speaker wire in the walls can be left in place, labelled and capped neatly; receiver connection and setup is $129 if you go the other way.
Bars, waiting rooms and shops
Bars with several screens on different games
Only one at a time, if you use soundbars. A bar plays whatever its own TV is showing, so a pub with five screens on five games either picks one screen's audio for the room or gives each screen its own bar and lets them compete, which nobody enjoys. The common working answer in multi-screen bars is one main screen carrying sound and the others showing captions.
If you want to switch which game has the sound without walking to each TV, the answer is a small audio matrix or a receiver feeding ceiling or wall speakers, with a simple switch behind the bar. That's a step up from a soundbar, and we quote it through our AV team. For a single main screen over the bar, a soundbar on a bracket is usually enough, set with the dialogue enhancement on so commentators cut through the room noise.
Can a waiting-room soundbar be locked so the volume can't be turned up too far?
Usually yes, though how depends on the brand. Many TVs used in offices have a hotel or commercial mode that caps maximum volume and disables some buttons, and that cap carries through to the bar when it is controlled over HDMI-CEC. Some bars also let you set a maximum volume in their app. The simplest physical step is to keep the bar's own remote in the office and mount the bar where its top buttons can't be reached from a chair.
For dental and medical waiting rooms along Hylan Boulevard and Richmond Avenue, we also turn on dialogue enhancement and leave the bass low, because a waiting room full of hard surfaces makes boomy sound worse, and staff at the front desk need to be heard over it. We show your staff the one button they will need and leave a note of the settings.
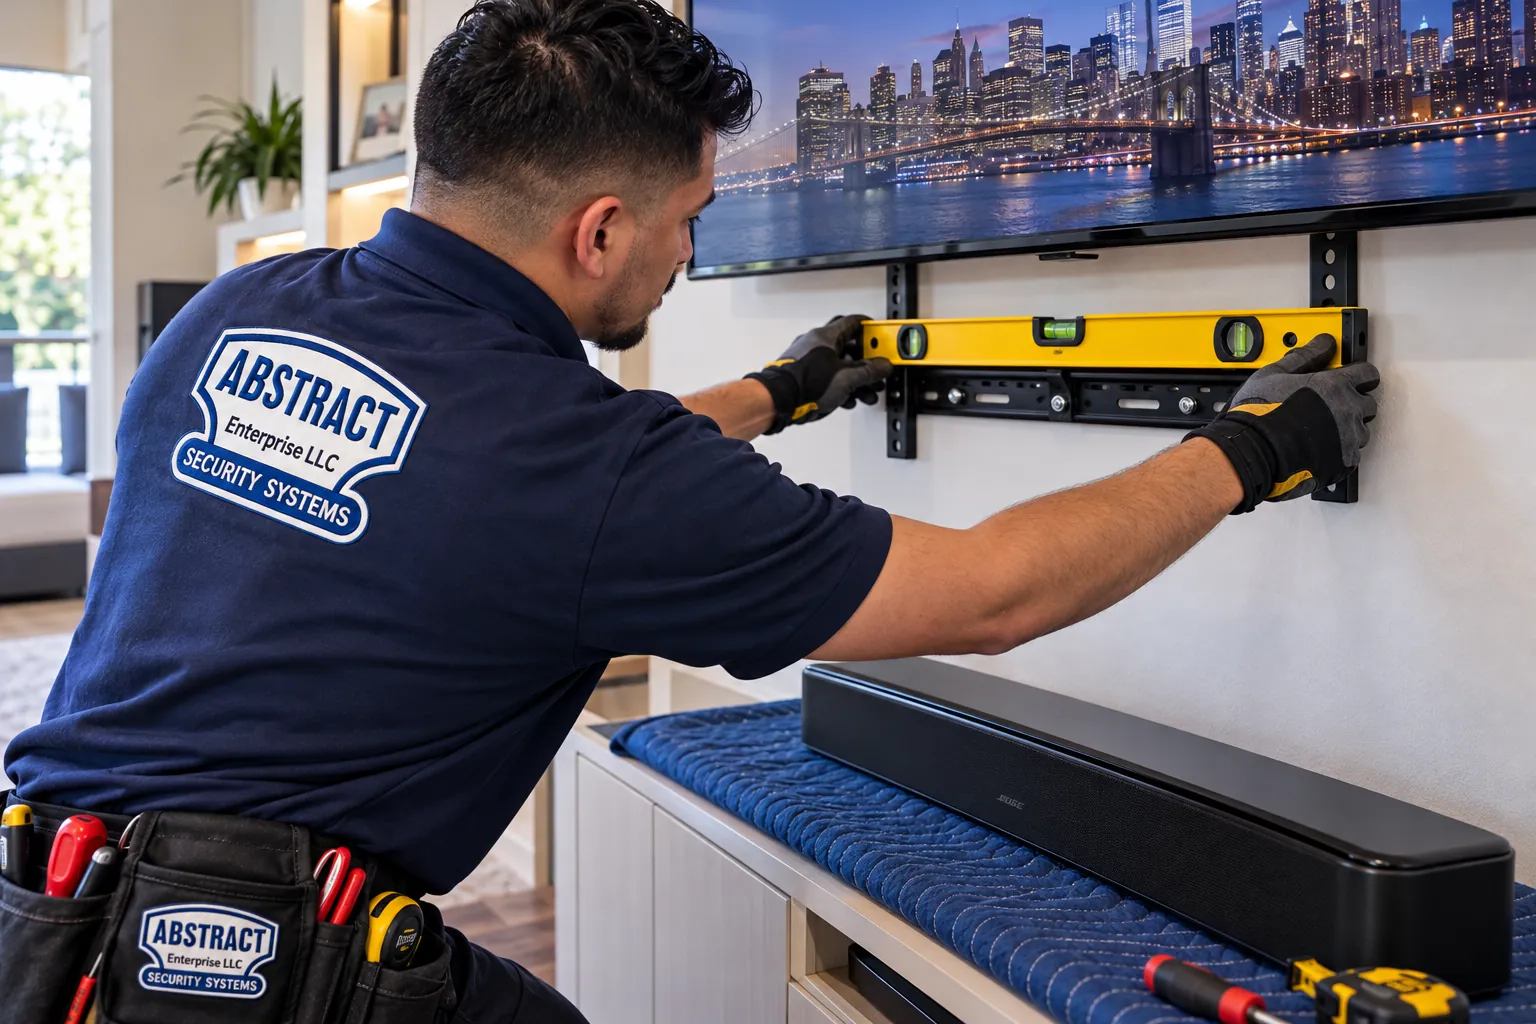
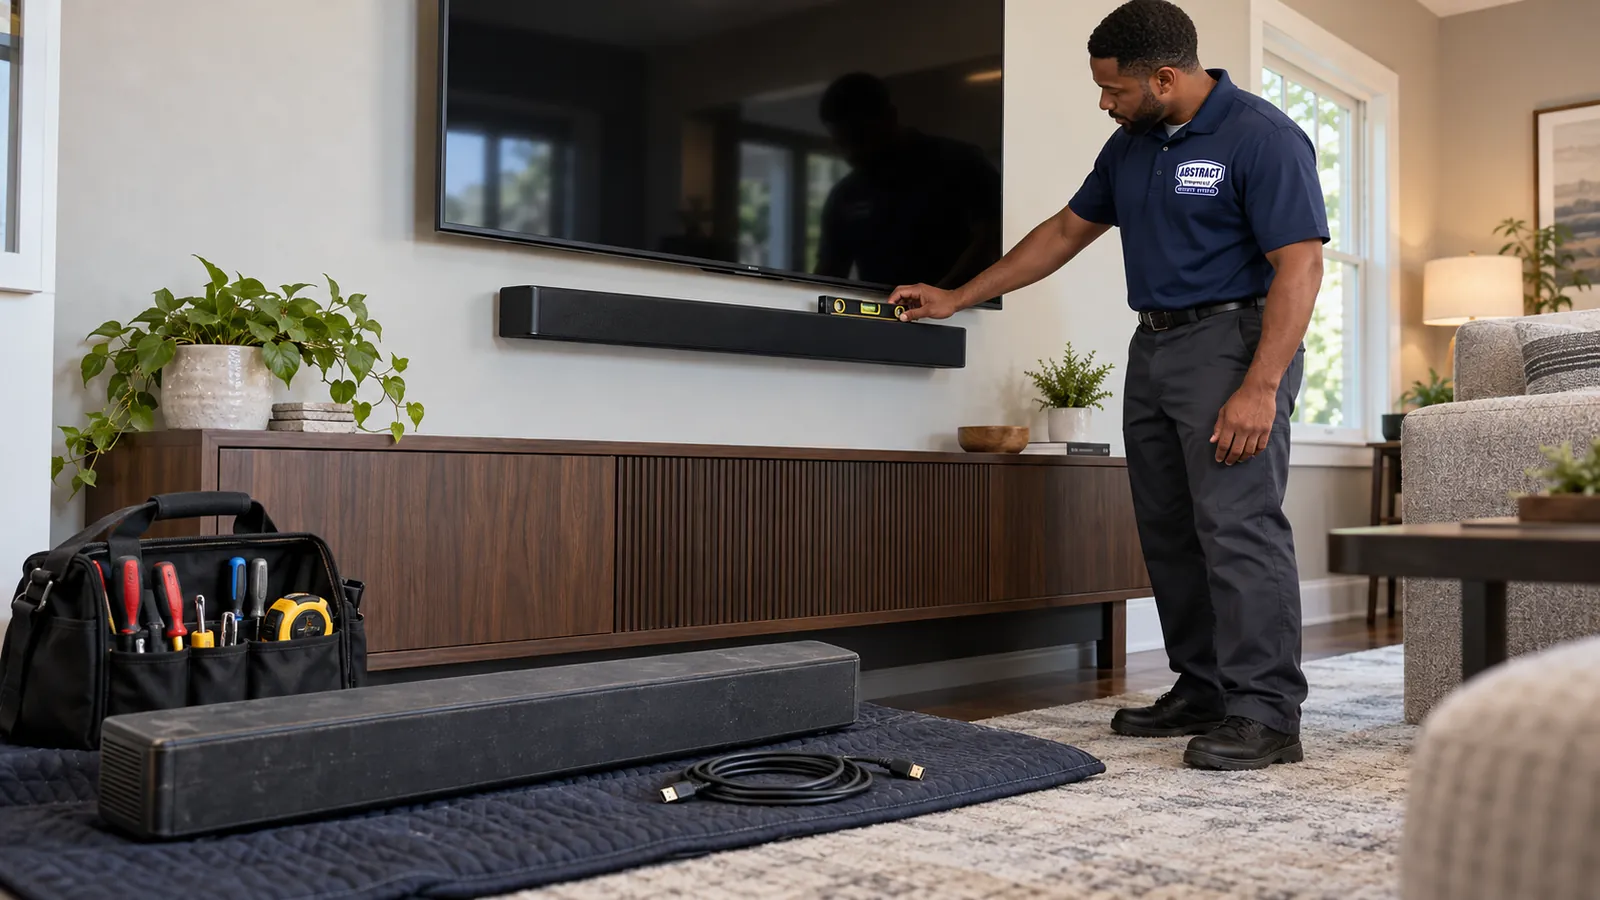
A gloved technician holds a yellow level across a black soundbar bracket fixed under the TV, while the bar waits on a blue moving blanket on the console.
Equipment
Types of Soundbars and Mounts We Install
We install whatever bar you have bought — Sonos, Samsung, LG, Sony, Bose, Vizio, Polk, Yamaha, Denon and others — and supply the bracket, cables and covers if you need them. What changes between jobs is the type of bar and how it is fixed. These are the categories we see most in Staten Island homes, and the room each one tends to suit.
Compact Bars for Bedrooms and Dens
Short bars around 22 to 26 inches wide, often 2.0 or 3.0 channels with no separate subwoofer. Sonos's Ray, for example, measures about 56 cm wide and weighs under 2 kg and connects by optical rather than HDMI. Right for a bedroom dresser, a kitchen TV or a townhouse den where bass would carry.
Mid-Size HDMI Bars
The everyday living-room bar, 25 to 40 inches, with HDMI ARC or eARC and usually Atmos virtualisation. The Sonos Beam (Gen 2) is about 25.6 inches wide and 6.35 lb. These suit 50-to-65-inch TVs and are light enough for any properly fixed bracket.
Flagship Atmos Bars
Long bars of 45 inches or more with up-firing drivers. Sonos lists the Arc Ultra at about 46.4 inches wide and 13 lb, and asks for at least 4 inches between bar and TV. These need a ceiling that reflects sound and a wall or bracket ready for the length.
Bar, Subwoofer and Rear Speaker Kits
Packages such as Samsung's HW-Q990D, an 11.1.4-channel system whose wireless rear speakers each still need their own AC outlet, and whose subwoofer weighs about 26 lb. The basement and family-room favourite. Placement of the sub and rears matters as much as the bar.
Wall Brackets
The bracket from the box, or the Sanus soundbar bracket we supply for $84.99 when the box bracket is missing or doesn't suit. Fixed to the wall a few inches under the TV, with anchors chosen for drywall, block, stone, plaster or paneling.
TV-Attached Brackets
Brackets that clamp the bar to the TV or its mount. Sanus makes extendable models for bars like the Arc that attach to most 50-to-90-inch TVs, and universal versions rated for most bars up to about 20 lb. Ideal on stone fireplaces and full-motion arms.
Cord Covers and In-Wall Kits
On block, stone or paneling we run a paintable raceway ($59); on hollow drywall over studs, with a workable outlet underneath, a code-compliant in-wall power and cable kit ($169) hides everything.
HDMI and Network Cables
High-speed HDMI rated for the run length, a network cable to the cabinet where Wi-Fi from a basement router is weak, and a cable run of up to 25 feet to a cabinet on the other side of the room ($99).
Universal Remotes and Hubs
Most homes are fine with the TV remote once HDMI-CEC is set up. Where a cable box, a projector and a streamer all need to be on one handset, we programme a universal remote ($99).
Who should install a Staten Island soundbar? Three options compared
Question
Do it yourself
App-based handyman or big-box service
Licensed low-voltage installer (AESS)
Who checks the wall material?
You, with a stud finder
Depends on the individual sent
Every visit, before drilling, with posted add-ons for block, stone and plaster
Hollow block, stone veneer, paneling
Trial and error
Often priced as standard drywall until on site
Methods and prices set out in advance
HDMI eARC, CEC and lip-sync
Manuals and forums
Usually basic connection
Set up, tested and explained on every install
Subwoofer placement in a two-family or townhouse
Wherever the cable reaches
Rarely discussed
Placed and levelled for the house and the neighbours
Toll or travel to Staten Island
None
Varies by provider
None added to the invoice
Certificate of insurance for a plaza or HOA
Not applicable
Varies
Issued free
National retailers and gig platforms publish flat soundbar menus that work well for a drywall wall in a standard house. Staten Island's difference is the share of jobs that aren't standard: the den block wall, the veneer fireplace, the paneled basement and the shared townhouse wall. A local licensed installer who has priced those surfaces in advance can quote the real job instead of the average one.
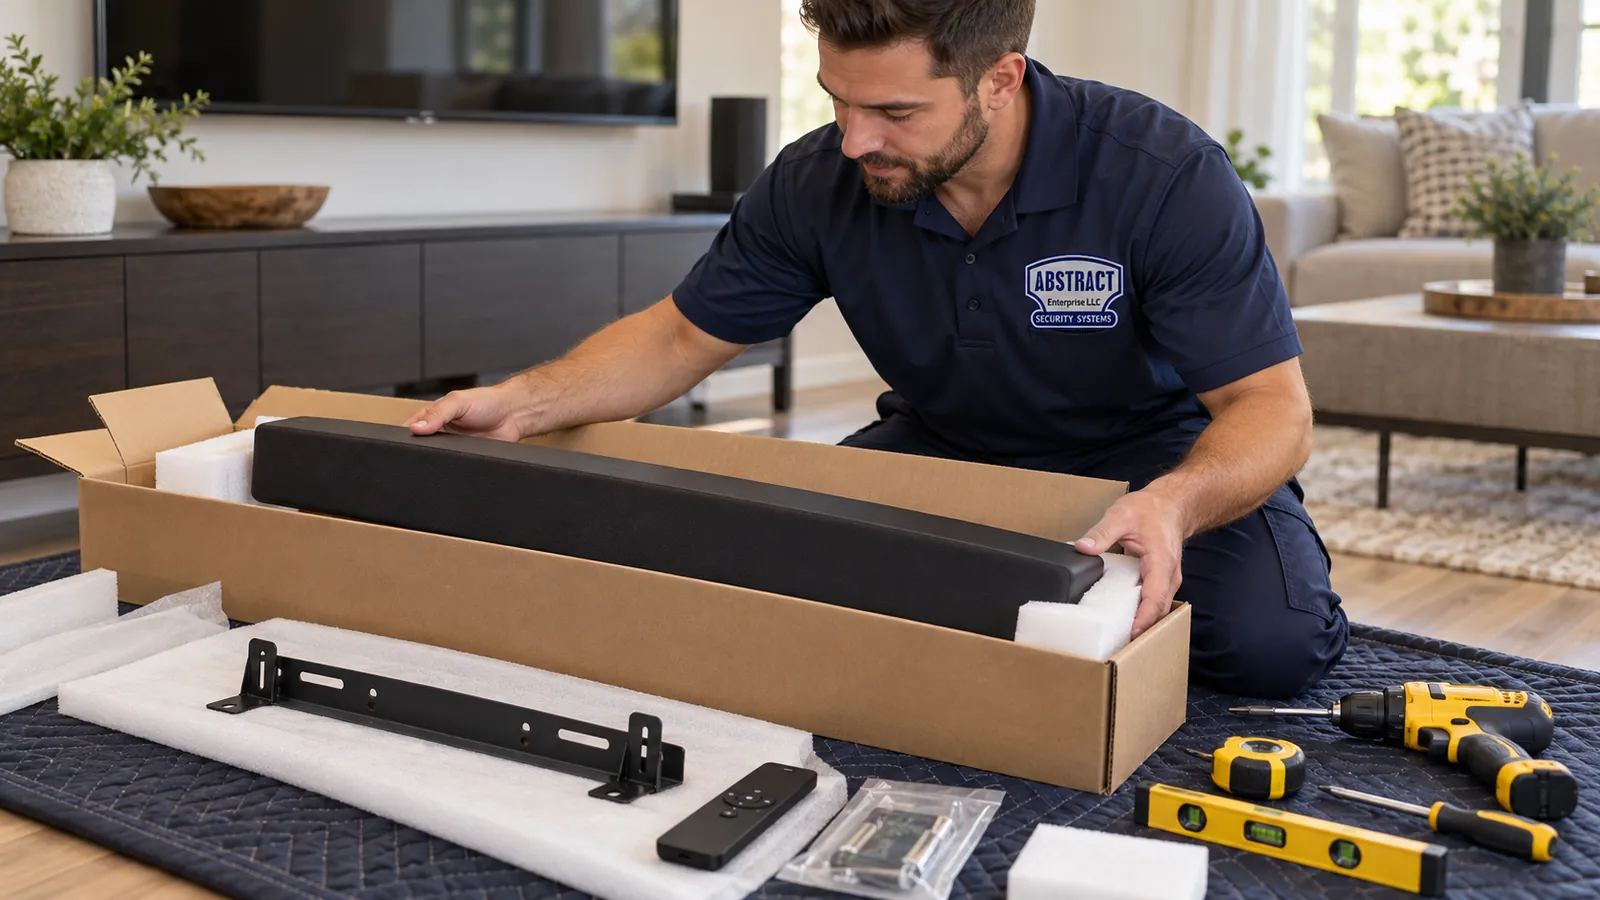
Everything out of the box and checked before drilling: bar, bracket, remote, the hardware bag and the drill, tape measure and level.
AI Overview Reality Check
What AI Gets Wrong About Soundbar Installation in Staten Island
Google's AI Overview couldn't be viewed from the tools used to research this page, so nothing below is presented as its exact words. Each heading is a claim that a real service listing, cost guide or manufacturer page publishes, and that AI answers tend to repeat. Under each one is what changes once the bar is going into a Staten Island house.
"Soundbar mounting is a standard add-on: assess the spot, fit the bracket, mount the bar, clean up"
That is close to how one national booking platform's Staten Island soundbar-mounting page lists what's included: assessment of the mounting location, secure installation of the bracket or hardware, mounting and positioning the bar, and clean-up. It is a fair outline of the steps, and summaries reproduce it because it reads like the whole job.
What the outline leaves out is the wall. On Staten Island, "secure installation" means something different on wood-stud drywall, on the hollow block of a hi-ranch den, on stone veneer over a fireplace and on 1970s paneling glued to a foundation. Each needs different fixings, and each has its own way of failing if the wrong one is used.
So we price the wall separately and in advance: nothing extra on wood studs, $45 for plaster, $65 for brick or stone, $75 for block or concrete. You know the number before the technician knocks on the wall, and if the wall turns out to be something else, you see the revised total before any drilling.
"Concealed wiring costs $75 to $300"
Angi's TV installation cost guide gives a $75 to $300 range for concealed wiring as an add-on. As a national average it is reasonable, and an AI answer will quote it as the cost of hiding soundbar wires.
The range hides the real question, which is whether the wall can be opened at all. Drywall over studs in a living room can take an in-wall kit. Block, poured concrete, stone and paneling glued to masonry cannot, and a raised post-Sandy house may have spray foam and fire blocking that make a fishing run slow. A single price range treats all of those as the same.
Our concealment line is a fixed $169 for a code-compliant in-wall power and cable kit where the wall allows it, and a $59 paintable cord cover where it doesn't. We tell you which one your wall can take when you send a photo.
"You need eARC to get Dolby Atmos from a soundbar"
This gets repeated often, and it's half true. AWOL Vision's explanation of eARC versus ARC is clear on the details: standard ARC can carry Atmos inside a compressed Dolby Digital Plus stream, while eARC is needed for lossless formats such as Dolby TrueHD Atmos and DTS-HD Master Audio. A Sonos community thread puts it bluntly: eARC is not required to have Atmos.
In practice, most streaming apps deliver Atmos as Dolby Digital Plus, which ARC carries. eARC matters most when a Blu-ray player or games console feeds lossless audio through the TV. In a Staten Island basement with a console and a 4K player, that difference is real; for a living room that mostly streams, it often isn't.
What actually trips people up is using the wrong HDMI port. The eARC/ARC socket is usually one specific port, labelled on the TV. We connect to it, turn on CEC and eARC in the TV menus, and play an Atmos test clip so you can see the format light up on the bar.
"Atmos up-firing speakers work in rooms with 7.5 to 12-foot ceilings"
Polk Audio's Atmos guide does give 7.5 to 12 feet as the ideal ceiling height for up-firing speakers, and an AI summary will often stop there. Most Staten Island living rooms and many basements fall inside that range, so the claim sounds like a green light.
The same guide adds the condition summaries drop: the ceiling should be flat and made of rigid, acoustically reflective material, and acoustic ceiling tiles should be avoided. A finished basement with a suspended tile grid is precisely the case where the height is right and the surface is wrong.
We check both before you choose a bar. In a drywall-ceiling living room an up-firing bar can work very well; under a tile grid, we suggest putting the budget into the sub and rears, or replacing tiles over the seats with hard panels.
"Wireless rear speakers mean no wires"
Retail listings call the rear speakers in bar-and-sub kits "wireless", and AI answers pass that on as no wiring at all. The audio does travel wirelessly from the bar.
Power doesn't. Crutchfield's listing for Samsung's HW-Q990D notes that each rear speaker must be plugged into an AC outlet, and so must the subwoofer. In a basement where the sectional floats in the middle of a concrete floor, there may be no outlet within reach of the back of the sofa.
We plan outlet access before you buy the kit when we can: speakers on stands near a wall outlet, a cord run along the baseboard behind the sofa, or rears placed on the side walls instead. Adding a new outlet is a job for your electrician, and we will tell you exactly where it would help.
"Mount the soundbar at seated ear level, around 42 inches"
Yamaha's guide to mounting a TV and soundbar suggests aiming close to 42.5 inches off the ground, roughly where a seated listener's ears are, and Dolby advises keeping the bar near ear level and close to the TV. Both are good acoustic advice for a TV at normal height.
Staten Island living rooms often put the TV above a fireplace, so the screen's bottom edge is already well above ear level. A bar at 42 inches would be on the mantel or the firebox surround, and a long way from the picture, so voices seem to come from a different place than the faces.
We weigh the two: keep the bar close under the screen and angle or tune it toward the seats, or place it on a deep mantel shelf, depending on the room. In hi-ranch dens and basements, where TVs sit lower, the 42-inch guidance usually works as written.
"4K streaming needs 15 Mbps, so a strong connection is essential for a soundbar"
Netflix's help centre recommends 15 Mbps or more for 4K streaming, and AI answers sometimes link that to soundbar performance, as if the bar needs fast internet to sound good.
The bar doesn't. When it plays TV audio over HDMI, the network is irrelevant; the picture's bandwidth is the TV's business. The bar uses the network for music streaming, voice assistants, grouping and updates, all of which need very little bandwidth but do need the signal to arrive reliably.
That makes signal reach, not speed, the Staten Island issue: routers often live low in a den or basement where the cable enters. We check the bar's signal on the app during setup and, if it's weak, suggest a wired line or a mesh point rather than a faster internet plan.
One Visit, Every TV Room in the House
Tell us the rooms, the walls and the bars. We'll send back the method and the price for each one before anyone crosses the bridge.
A lot of installation trouble starts at the checkout. The bar that suits a South Shore basement is often wrong for a townhouse bedroom, and the reverse. If you haven't bought yet, these rules of thumb, room by room, will save you a return trip to the store. If you have, they explain the choices we will make when we place and tune it.
Width against the screen. A bar looks and sounds right when it is roughly as wide as the TV or a little narrower, so the sound appears to come from the picture. A 55-inch TV is about 48 inches wide, so a bar in the 30-to-45-inch range sits comfortably under it; a 75-inch screen can take a flagship bar of 46 inches or more. On a fireplace wall, measure the chimney breast as well as the TV: a long bar on a narrow breast overhangs onto the drywall either side, and two wall materials under one bracket is a job we'd rather plan than discover.
Subwoofer or no subwoofer. In a finished basement on a concrete slab, a separate sub is worth having; the slab doesn't carry bass into the rest of the house the way a wooden floor does, and big basement rooms swallow low end. In an attached townhouse or the upstairs unit of a two-family, think twice: a bar with built-in woofers, or a kit whose sub you are willing to keep turned well down, causes fewer arguments through the party wall and the floor.
Rear speakers. Rears add a lot in a basement where the sofa sits in the middle of the room, and very little in a long townhouse living room where the sofa backs onto a wall. Remember that each rear needs its own outlet. If the only outlets are on the far walls, plan the rears there and set them as side surrounds, which most bars allow in their app.
HDMI eARC, ARC or optical. Check the TV's ports before choosing the bar. Most TVs from the last several years have one HDMI port marked eARC or ARC; older TVs, some bedroom TVs and many projectors don't. A bar that also offers an optical input keeps the older-TV option open. If the TV only has optical out, a bar that relies on HDMI alone won't connect at all.
Atmos and up-firing drivers. Worth paying for under a flat drywall ceiling between about 7.5 and 12 feet. Less so under a basement tile grid, a sloped attic ceiling or a very high great-room ceiling, where the reflection that creates the overhead effect weakens or scatters.
Depth and height. On a TV stand, the bar's height decides whether it blocks the picture or the remote sensor; measure the gap between the stand top and the bottom of the screen. On a wall, depth matters in narrow townhouse hallways and dens, where a deep bar is easy to walk into. Sonos, for example, asks for at least 4 inches between its Arc Ultra and the TV above it, which is worth checking before the TV goes up.
Wi-Fi and voice features. If you want to stream music to the bar, group it with speakers in other rooms or talk to it, it needs a steady Wi-Fi signal where it will live. Test your phone's signal at the TV spot before you buy; if it struggles there, the bar will too, and a wired line or a mesh point belongs on the plan.
If you send us the room, the TV model and a photo of the wall, we will tell you which size and type of bar suits it before you buy. We don't sell soundbars, so the suggestion is about fit, not about a product we stock.
Get In Touch
Request a Free Quote
Great Kills hi-ranch, Arden Heights townhouse, New Brighton frame house — send the room, the wall type and the soundbar model, and you get a written quote within the business day. Rather talk it through? Call (347) 934-8335.
✅
We Got Your Request!
Expect our call later today. Need someone sooner? Dial (347) 934-8335.
How It Works
Our Installation Process
Seven steps, whether it's a compact bar on a bedroom dresser in Westerleigh or a bar, sub and rears in a Tottenville basement.
1. Send the room and the wall
Tell us the soundbar and TV models, the room, the neighbourhood and what the wall is made of, with a photo if you can. Mention any HOA, landlord or two-family arrangement that affects the work.
2. Get a written price
We reply with a price built from the published lines: mount or console placement, bracket, wall add-on, concealment and setup. The bridge toll and travel are never on it.
3. Book your arrival slot
Slots are two hours wide and run from 8 in the morning until 8 at night on every day of the week, Sundays included. If one opens up today you can take it; moving it costs nothing with a day's warning.
4. Check the wall and the cable route
First job on site: knock, scan and if needed test-drill to learn what the surface really is, trace where the cable box, router and nearest outlet sit, then mark height and centre with you standing at the seat.
5. Mount and connect
Fixings chosen for that surface go in, the bar is hung and checked with a level, the wiring disappears into the wall or a cover, and HDMI goes to the eARC or ARC socket with CEC enabled so the TV remote controls volume.
6. Place the subwoofer and rears
Wireless sub and rear speakers paired and placed for the room and the floor beneath it, kept off shared walls and off basement floors that have taken water.
7. Tune, test and hand over
Dialogue and night modes set, lip-sync checked, an Atmos or test clip played, the TV remote tested on power and volume, dust vacuumed and the settings walked through with you.
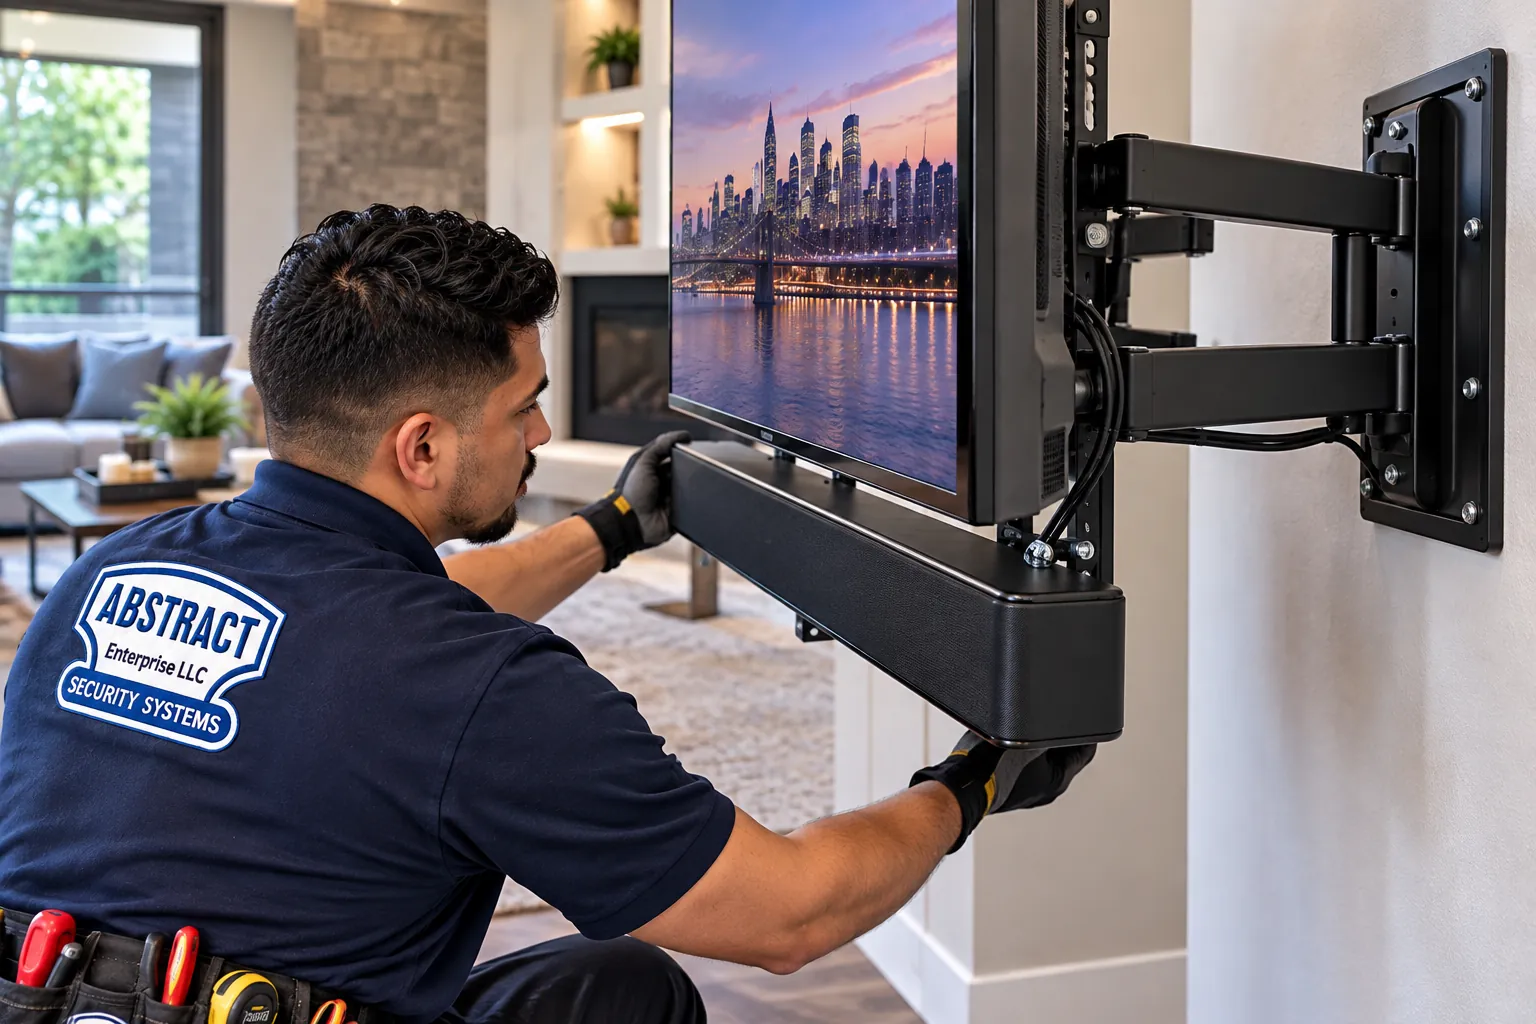
A gloved technician fits a soundbar to the underside of a TV hung on a full-motion articulating arm, so the bar moves with the screen.
Coverage Area
Soundbar Installation Near Staten Island's Landmarks
We work across all of Staten Island, from the ferry terminal to the Outerbridge. These six landmarks are spread around the island; the neighbourhoods around each one have their own typical houses and walls.
St. George Theatre
Opened on December 4, 1929 as a 2,800-seat movie and vaudeville house, and still a working venue on the North Shore. The streets around it mix older frame houses, apartment buildings and new construction near the ferry.
SIUH Community Park
The St. George ballpark, formerly Richmond County Bank Ballpark, opened in 2001 and now home to the Staten Island FerryHawks, with 7,171 seats. Bay Street's restaurants and bars, a short walk away, are where game-night TVs get the most use.
Snug Harbor Cultural Center
An 83-acre campus with 23 historic buildings, nine botanical gardens and ten acres of wetlands in Livingston, surrounded by the plaster-walled older houses of New Brighton and West Brighton.
Historic Richmond Town
New York City's living history village: 40 historic structures on 100 acres in the middle of the island, with the colonials and raised ranches of Richmondtown, Lighthouse Hill and Egbertville nearby.
Staten Island Mall
The borough's only indoor mall, opened in 1973 in New Springville — the neighbourhood Brick Underground describes as mostly 1960s–70s attached, semi-detached and detached high ranches.
Freshkills Park
A 2,200-acre park opening in phases on the former landfill, expected to be complete in 2038. It borders the West Shore townhouse and attached-home neighbourhoods of Arden Heights, Travis and Bulls Head.
We also install soundbars in Tottenville, Prince's Bay, Huguenot, Annadale, Eltingville, Great Kills, Bay Terrace, Oakwood, New Dorp, Midland Beach, South Beach, Dongan Hills, Grant City, Todt Hill, Emerson Hill, Grymes Hill, Westerleigh, Castleton Corners, Port Richmond, Mariners Harbor, Graniteville, Willowbrook, Rosebank, Grasmere, Tompkinsville and Stapleton. Every one of them is reached over the Verrazzano or the Goethals, and the toll is never added to your bill.
Pricing
Soundbar Installation Cost in Staten Island
Soundbar prices are published line by line and are the same dollar amounts in every borough; only the TV-mounting base and the hourly setup rate vary by area. Add up the lines that apply to your room and that is your price. If the wall turns out to be different from the one you booked, the new total is shown to you before any drilling.
Item
Price
What it covers
Soundbar placed on a console or stand
$79
Placed, connected to the TV, set up and tested
Soundbar wall-mounted under the TV
$129
Bracket fixed, bar mounted and levelled, connected and tested
Sanus soundbar bracket
$84.99
Supplied when the bar's own bracket is missing or unsuitable
In-wall concealment
$169
Listed power-and-HDMI kit fished inside a stud wall
Paintable cord cover
$59
Surface channel for block, stone, paneling or rentals
Cable run to a cabinet or other spot
$99
Up to 25 ft
Sonos setup
$125
Sonos bar, sub and rears paired, app and grouping set up
A/V receiver
$129
Receiver connected and configured
Universal remote
$99
Programmed for TV, bar, cable box and streamer
Streaming device or games console
$49 each
Connected and set up on the right input
Full home theater hookup
$350
Bar or receiver, sub, rears and sources connected and tuned
Wall and access add-ons
Condition
Add
Where you'll meet it on Staten Island
Drywall over wood studs
$0
Most living rooms and bedrooms from the 1960s on
Metal studs
+$30
Newer basement fit-outs, offices, shops
Plaster
+$45
Older North Shore frame houses
Brick or stone
+$65
Fireplace chimney breasts, brick accent walls
Concrete or cinder block
+$75
Hi-ranch dens, basement foundation walls
Tile or marble
+$95
Kitchen backsplash TVs, bathroom or bar walls
Plywood backer board
$85
Irregular framing where the load needs spreading
High mount (above about 8 ft)
$75
Two-storey entries and tall great-room walls
Box removal
$25
We take the packaging with us
Certificate of insurance
Free
HOAs, plaza managers, landlords
When the TV goes up too
On Staten Island a TV mount starts at $209.99 for a 32-to-55-inch screen on a fixed or tilt bracket over wood-stud drywall; 56–65 inches adds $30, 66–75 adds $60 and 76–85 adds $100. Over a fireplace adds $130. A TV placed on its stand with no wall mount is $137.99. If the soundbar is already up and only needs setup or troubleshooting, a setup-only visit is $225 for the first hour, then 30-minute blocks. Every TV line is on our Staten Island TV mounting prices page.
What every visit covers: locating framing or sound masonry, hanging the bar dead level, the HDMI or optical hook-up, neat cable dressing, single-remote control through CEC, and a vacuum over the work area when we finish.
Left out of the price: new or relocated outlets (we refer those to a licensed electrician), wall patching and paint, shifting heavy furniture, and screen calibration.
If we can't begin: a missing bar or bracket, or nobody home to let us in, means a $150 return-trip charge. Move the booking a day or more ahead and there's no charge at all.
Surfaces that can chip: a careful bit can still crack ceramic, marble, century-old plaster or a veneer stone. If your spot is one of those, you'll hear about it first and choose whether we go ahead.
Shop Our Systems
Soundbar Installation Packages & Pricing
Three packages cover most Staten Island soundbar quotes. Each card shows its arithmetic so you can check it; other wall types and extras from the tables above go on top.
Starter — Bar on the Console
$79
$79 puts the bar on a dresser or media unit, hooked to the TV and answering its remote, with the leads tucked out of sight. The pick for a TV still on its feet, a bedroom, or a household that isn't ready for holes.
Standard — Den or Basement Block Wall
$288.99
Soundbar wall-mounted ($129) + Sanus soundbar bracket ($84.99) + concrete or cinder block add ($75) = $288.99. The typical hi-ranch den or basement foundation wall. On drywall over studs the same job is $213.99.
Premium — Living Room, Hidden Wiring, Sonos
$507.99
Soundbar wall-mounted ($129) + Sanus bracket ($84.99) + in-wall concealment kit ($169) + Sonos setup with sub and rears ($125) = $507.99. For a drywall living-room wall in an owner-occupied house.
Bring Your Own Equipment — Labour Only
Got a bracket already, in the soundbar box or bought on its own? We charge only the $129 mounting labour, plus any wall add-on. A customer-supplied bracket must be rated for the bar, and it carries its own manufacturer's warranty. If we find it unsuitable on the day, we tell you before drilling and offer the Sanus bracket at $84.99 instead.
A worked example with a TV. A 65-inch TV on a living-room drywall wall ($209.99 + $30 = $239.99), with the soundbar wall-mounted below it ($129) on a Sanus bracket ($84.99), comes to $453.98 before any optional extras.
Want the Number for Your Wall?
A phone picture of the spot and the soundbar's model is all it takes. The written figure comes straight off the tables above, with no bridge toll in it.
A soundbar is a small investment compared with a house, but on Staten Island the house's history decides where the expensive parts of the system should live. After Sandy, homes along the East and South Shore were either bought out, rebuilt, or raised so the living space sits above the flood elevation. The city's Build It Back program describes its "repair with elevation" option plainly: substantially damaged homes were repaired and raised to comply with flood elevation standards. For anyone putting a home theatre into one of those houses, the lesson is simple — the ground floor or enclosed foundation level is for parking and storage, not for a subwoofer.
In a raised house, the living room is a full storey above grade and the cable or fibre service often enters low on the foundation. That leaves a long vertical path from the utility entry to the TV, and a router placed wherever the installer found it convenient. When we set up a soundbar in one of these homes, we look at where the router is and how the bar will reach it, keep any equipment rack or cabinet on the living floor, and avoid running new cables along the lowest level where water would reach them first.
Power is the second part. Storms still take lines down here: a September 2026 nor'easter cut power to 1,663 Staten Island Con Edison customers at its peak, and another outage the same month hit Midland Beach and Grasmere hardest. Soundbars and subwoofers draw little power and rarely fail in an outage itself, but the surge when power returns, or a nearby lightning strike, can damage the HDMI boards in the TV and the bar together. We plug the TV, bar and sub into a single surge-protected strip, so they share one ground and one protection point, and leave the strip somewhere you can reach to switch everything off before a big storm.
After an outage, the most common call is not a broken bar but a confused one: the TV comes back on before the bar, they don't find each other over HDMI, and the remote stops controlling the volume. Turning the TV off, unplugging the bar for a minute and turning both back on usually restores the link. If it doesn't, a short service visit sorts out the CEC settings so the pair recovers on its own next time.
Level on the bar, tools on a blanket: the soundbar sits a few inches under the TV and is checked for level before the room is handed back.
Across the Island
North Shore to South Shore: What We Expect Behind the Wall
No neighbourhood has only one kind of house, but each part of Staten Island leans one way. This is how we prepare before a visit, based on the neighbourhood and the photo you send.
North Shore — St. George, Tompkinsville, Stapleton, New Brighton, West Brighton, Port Richmond. The oldest housing on the island, including 19th- and early 20th-century frame houses and the protected streets of the St. Paul's Avenue–Stapleton Heights Historic District, plus the denser, newer buildings of the Bay Street corridor. We bring plaster tools and backer board, expect irregular framing and old wiring paths, and allow time for a careful look before drilling. Commercial calls here come from Bay Street and Forest Avenue restaurants and bars.
Mid-Island — Todt Hill, Emerson Hill, Grymes Hill, Dongan Hills, New Springville, Willowbrook, Westerleigh. Larger detached houses on the hills, often with big fireplaces and open family rooms, alongside New Springville's 1960s and 1970s high ranches and attached homes around the mall. Fireplace walls and long cable runs to built-in cabinets are the typical extras.
East Shore — South Beach, Midland Beach, New Dorp Beach, Oakwood, Grant City. The neighbourhoods Sandy hit hardest, with a mix of older bungalows, rebuilt homes and raised houses. We plan around elevated living floors, newer insulated walls and the flood-aware placement described above.
South Shore — Great Kills, Eltingville, Annadale, Huguenot, Prince's Bay, Tottenville. Hi-ranches, split-levels and detached houses, many with finished basements and family rooms on the lower level. Block den walls, paneled basements and bar-sub-rear kits are the everyday jobs.
Apartments near the ferry and the mall. Only about 7% of Staten Island homes are in buildings of 50 or more units, but they are concentrated around St. George and the Bay Street corridor, where the rezoning was projected to add about 2,560 housing units, and in condo complexes in New Springville and the West Shore. Here the job looks more like the rest of the city: a managing agent who wants a certificate of insurance before we come up, neighbours above and below, metal-stud or concrete walls, and a lease that may limit holes. For renters we lean toward console placement, TV-attached brackets and cord covers; for owners, in-wall concealment where the building allows it.
West Shore — Arden Heights, Rossville, Travis, Bulls Head, Bloomfield. Attached townhouse communities with homeowner associations and newer subdivisions near Freshkills Park. Interior walls are usually straightforward framing; party walls and HOA rules about anything outside the unit are what we ask about.
Complete Services
Every Soundbar Installation Service in Staten Island
A soundbar visit often turns into a whole-house conversation. These are the Staten Island services that get booked alongside it most.
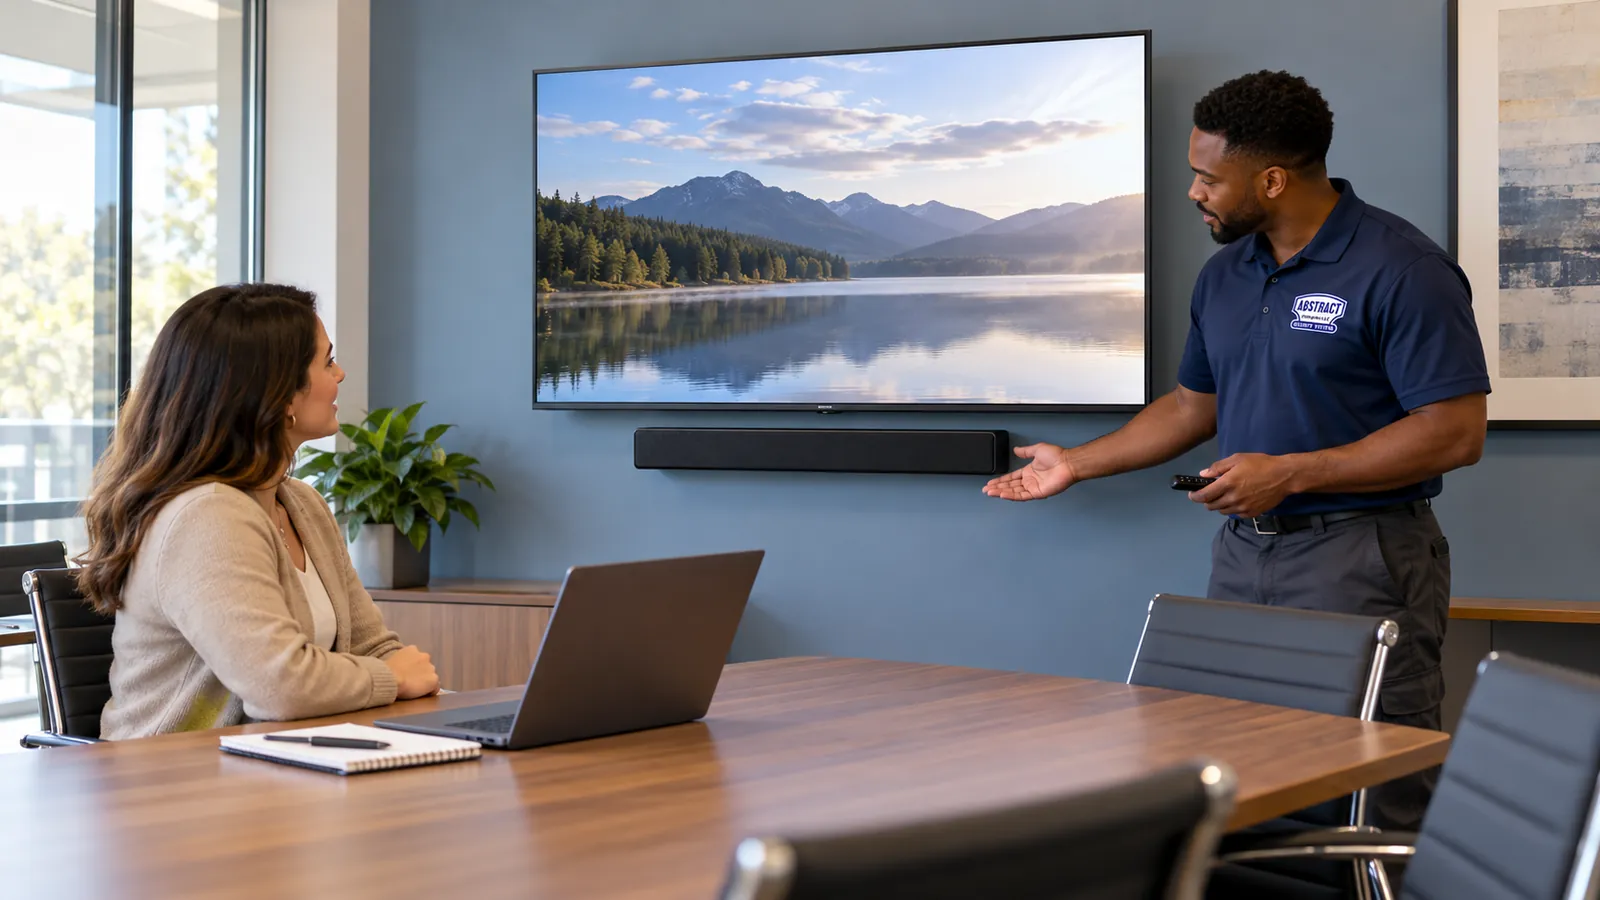
In a conference room, a technician gestures to the soundbar mounted under the wall display while a woman at the table, laptop open, follows along.
FAQ
Staten Island Soundbar Installation FAQ
What does a soundbar on a hi-ranch den's block wall cost?
+
The wall mount is $129 and the cinder block or concrete add is $75, so $204 with the bracket that came with the bar, or $288.99 with the Sanus bracket we supply at $84.99. A cord cover to hide the wire on block adds $59.
The soundbar arrived without a wall bracket. Can you supply one?
+
Yes. We carry a Sanus soundbar bracket for $84.99, or a TV-attached bracket if the bar would be better hanging from the TV mount. Tell us the bar model when you book so the right one comes with the technician.
Can I book the soundbar now and have the TV mounted later?
+
Yes. Each job is priced on its own lines, so the bar can go on a console today for $79 and move to the wall when the TV is mounted. If you know where the TV will go, we place the bar so the later move needs no extra holes.
Can you run the wires inside the walls of a house that was raised or rebuilt after Sandy?
+
Usually, if the TV wall is framed and the outlet is below the TV. Newer walls often have spray foam or fire blocking that slows a cable run, so we confirm the route from a photo or on arrival. The in-wall kit is $169.
Where does the soundbar go if the TV is on a pull-down mount over the fireplace?
+
Not on the TV, because the screen travels down and out. We usually put the bar on the mantel shelf or on the wall just under it, and check that the lowered TV clears it. A pull-down fireplace mount adds $160 to the TV job; the bar is the usual $79 or $129.
Can the old soundbar we are replacing go on the basement TV during the same visit?
+
Yes. Moving it is priced like any other bar: $79 on a console or $129 on the wall, plus the add for a block or paneled wall if it applies. We reset it, update it and pair it with the basement TV before we leave.
Can a soundbar of another brand run with our TV?
+
No. Any bar with HDMI ARC or eARC, or an optical input, works with any TV that has the matching port, and HDMI-CEC volume control works across most brands. Some same-brand pairs add extra features, which we set up if you have them.
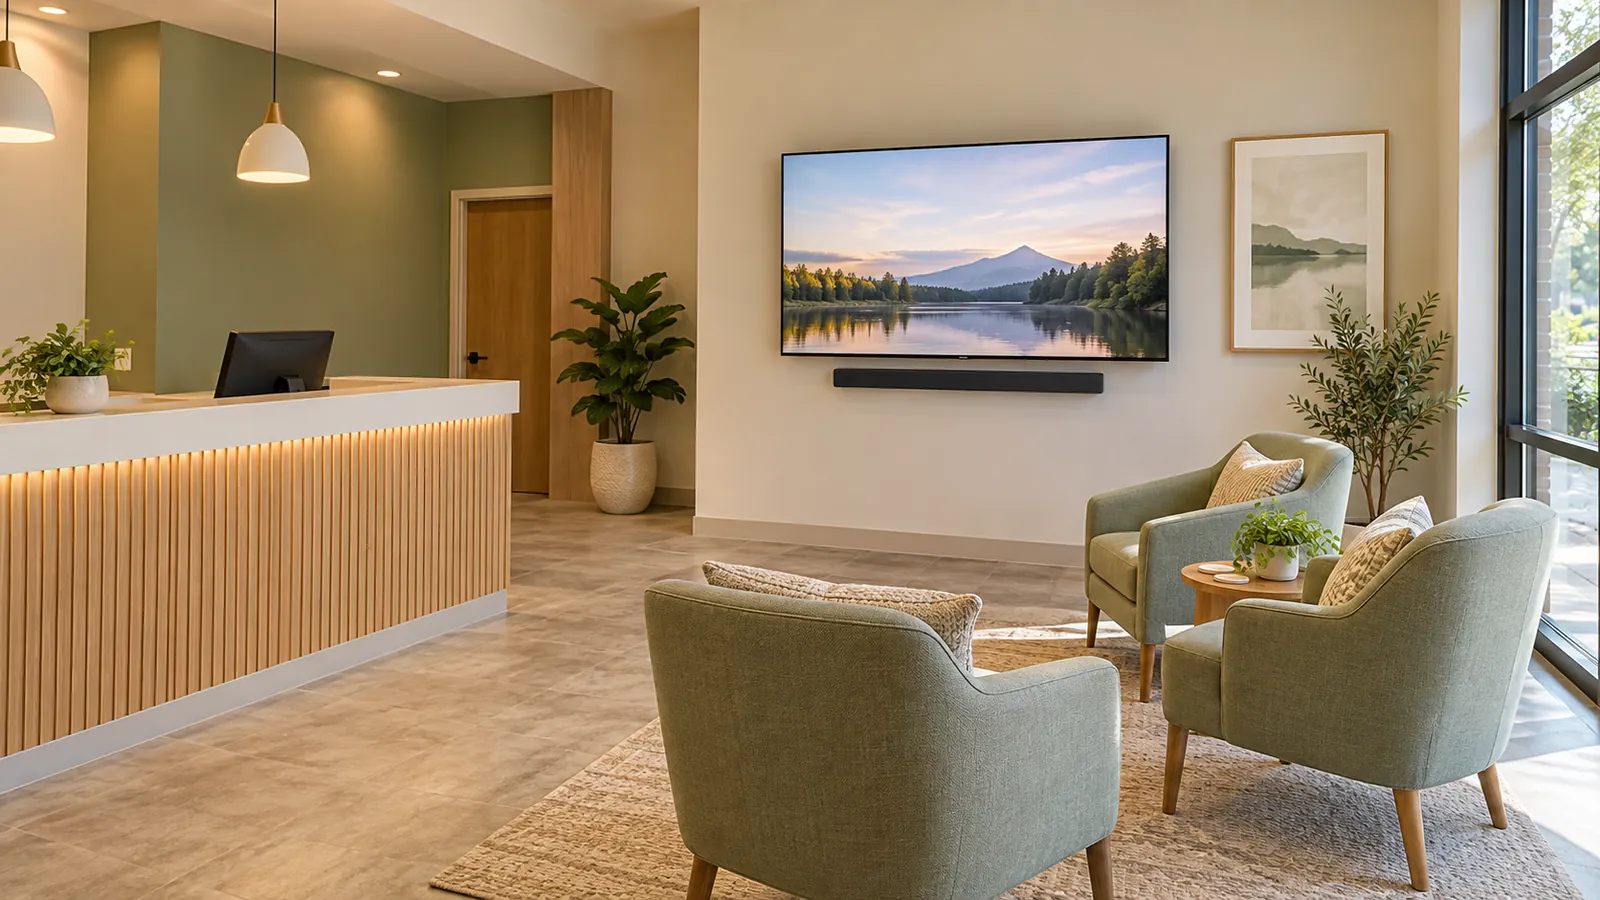
Lobby setup: one wall TV, one slim bar tight beneath it, and seating arranged so the sound reaches the chairs rather than the desk.
All Areas Served
Soundbar Installation Across New York
This is our Staten Island soundbar page. The New York City soundbar installation hub covers all five boroughs together, and each borough and suburban county has its own page written for its housing.
Soundbar Gone Quiet? Need It Sorted on Staten Island?
If the bar stopped playing after a storm or a TV update, the subwoofer lost its pairing, or the remote no longer turns it up, call (347) 934-8335. We book the next open 2-hour window, and most connection faults are fixed in one to two hours once we are there.
Soundbar Installation Staten Island — Licensed, Insured, House-Smart
Abstract Enterprises Security Systems · 1282 Troy Ave, Brooklyn, NY 11203 · serving all of Staten Island · (347) 934-8335 · WhatsApp (718) 679-0359 via wa.me
NYS Low-Voltage Licence #12000287431 · 100% Licensed & Insured · Same-Day Estimates · Rated 4.7★ from 201 Google Reviews
Brackets and parts carry their manufacturer's warranty. Full terms — including 50% deposit, one-year parts-only warranty on AESS-supplied products, and the late-fee schedule — are set out in the service agreement. See our warranty page.
Page reviewed and updated October 17, 2026. Changelog: page launched for Staten Island homes and businesses, built on borough housing, storm and corridor research.